Install on Ubuntu 16.04
These instructions will walk you through setting up LAMP (Linux Apache Mysql PHP) software and install OpenCATS on a Ubuntu 16.04 machine. These instructions will work with a VPS, or a home/office machine.
Note
If this is a production machine, that is accessible by people outside your network, this walk-through doesn’t address additional server security. You would definitely want to make sure things are secured correctly.
Warning
If you are running a different version of Ubuntu (other than 16.04) the default software versions will be different, which means the install process will be different.
Ubuntu16.04-Installing MySQL 5/Mariadb
Note
mysql and mariadb are basically the same software with different names. You can use either, just change the commands to the appropriate name.
$ sudo apt-get update$ sudo apt-get install mariadb-server mariadb-client$ sudo mysql_secure_installation
Note
In order to log into MariaDB to secure it, we’ll need the current password for the root user. If you’ve just installed MariaDB, and you haven’t set up the root password yet, the password will be blank, so you should just press enter here. If you have set up a MySQL/MariaDB root password already you will enter it here.
- Set root password? [Y/n] Y
- New password: <–yourmariadbpassword (Remember this or write it down!)
- Re-enter new password: <–yourmariadbpassword (Remember this or write it down!)
- Password updated successfully!
- Reloading privilege tables….. Success!
- Remove anonymous users? [Y/n] Y
- Disallow root login remotely? [Y/n] Y
- Remove test database and access to it? [Y/n] Y
- Reload privilege tables now? [Y/n] Y
- All done! If you’ve completed all of the above steps, your MariaDB,installation should now be secure. Thanks for using MariaDB!
Ubuntu16.04-Installing Apache2
$ sudo apt-get install apache2
Note
In this tutorial, we use localhost, if you’re running a vps, you may need to enter the correct IP Address. These settings might differ for you, so you have to replace them where appropriate.
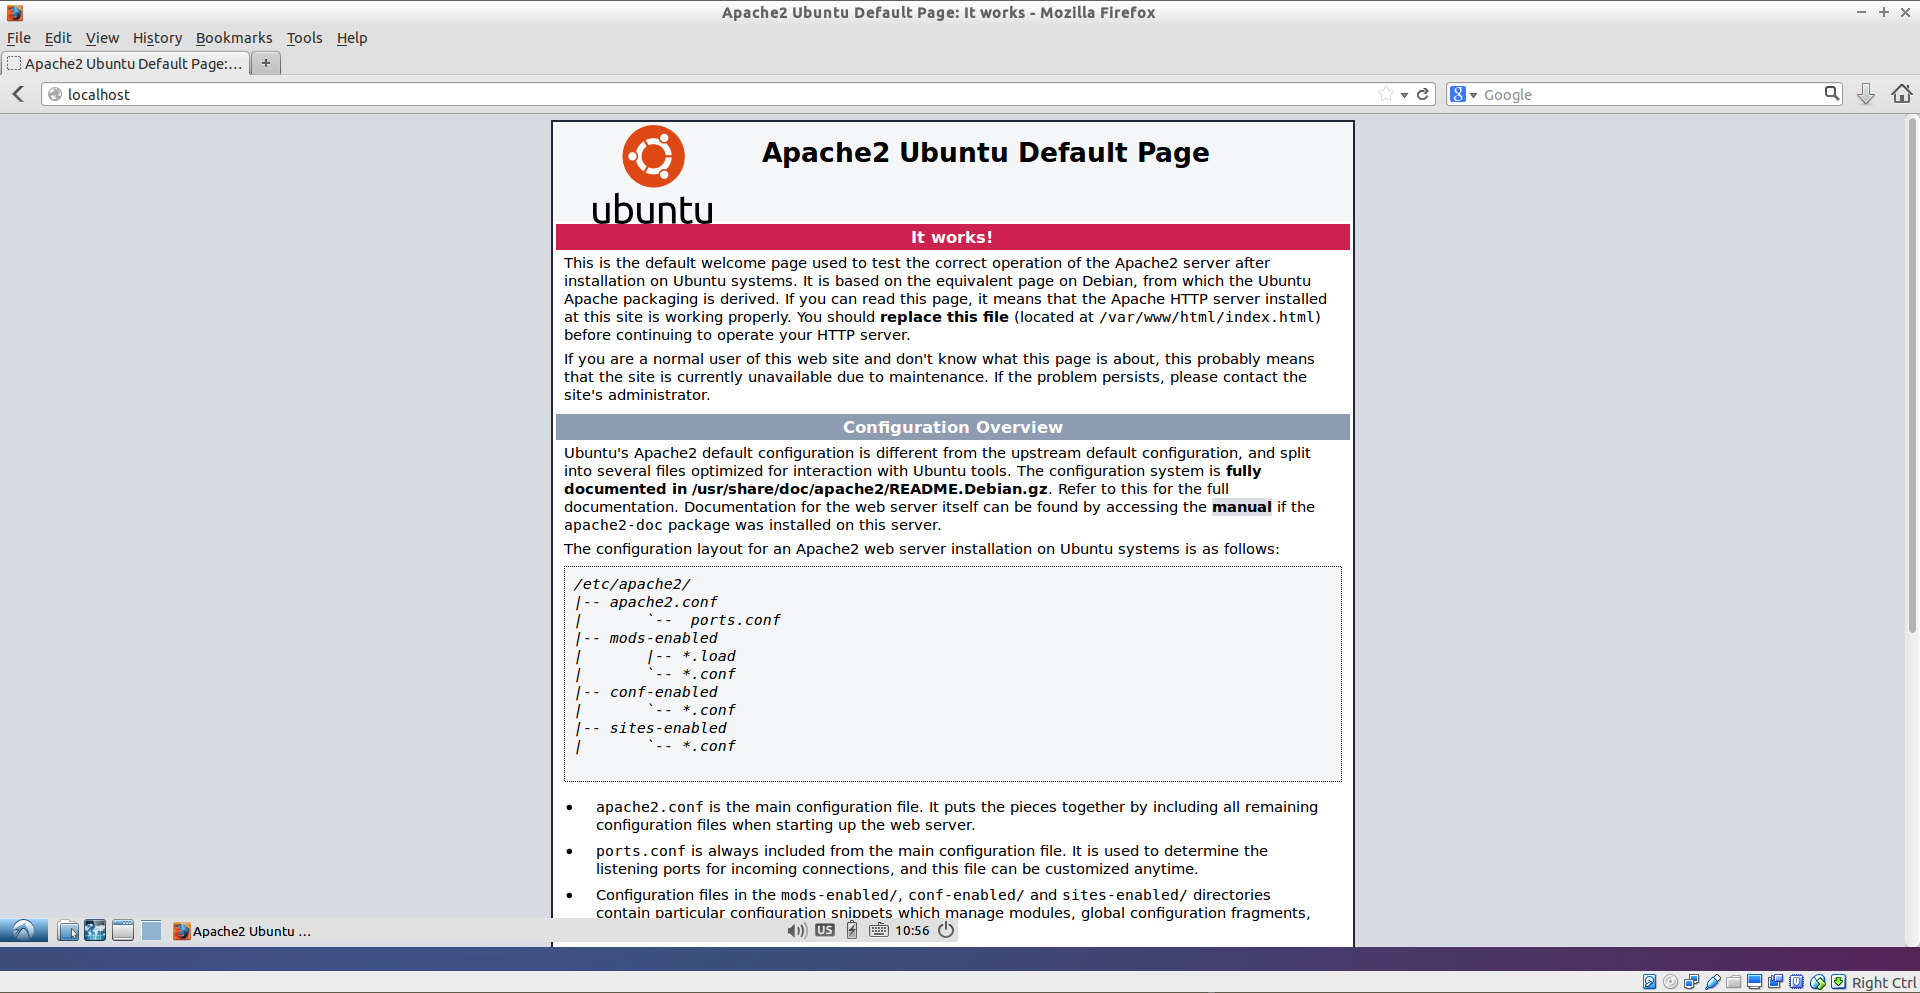
- Now direct your browser to localhost and you should see the Apache2 placeholder page:
Ubuntu16.04-Installing PHP5.6
Note
Php7 is default in Ubuntu 16.04. At this time, OpenCATS doesn’t support php7. So we’ll need to install php5.6 to work with OpenCATS. DO NOT install the default php (v7). If you do, or already have it running, you’ll need to downgrade your Ubuntu system to php5.6.
$ sudo add-apt-repository ppa:ondrej/php$ sudo apt-get update$ sudo apt-get install php5.6 php5.6-soap php5.6-ldap$ sudo apt-get install php5.6-mysql php5.6-gd php5.6-xml$ sudo apt-get install php5.6-curl php5.6-mbstring php5.6-zip$ sudo service apache2 restart
Note
The document root of the default website is /var/www/html. We will now create a small PHP file (info.php) in that directory and call it in a browser. The file will display lots of useful details about our PHP installation, such as the installed PHP version.
$ sudo nano /var/www/html/info.php- Type or paste the following into it and save as info.php:
1 2 3 | <?php
phpinfo();
?>
|
- Ctl-O then enter to save the file
- Ctl-X to exit nano
$ sudo service apache2 restart- In your browser, go to localhost/info.php
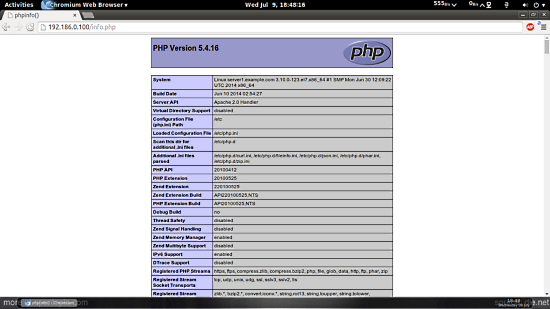
If you see this screen, everything is good. Scroll down and check to make sure all the extensions are there, then proceed.
Note
If you get any PHP errors during the OpenCATS install, this screen can help you see what php modules are installed and loaded.
Setting up your MySQL/MariaDB database
Note
This is the backend database that stores all your OpenCATS information. You likely will NOT be messing with this much after installation unless you choose to. The login/password you set up here will NOT be the same as your login/password for OpenCATS.
Note
Make sure you remember or write down your login/password. You’ll need it in a few minutes.
$ sudo mysql -u root -p
It will ask you for your Ubuntu Root password
Then it will ask you for your mysql root password
- You should see a prompt like this:
mysql> mysql>CREATE USER ‘opencats’@’localhost’ IDENTIFIED BY ‘databasepassword’;mysql>CREATE DATABASE opencats;mysql>GRANT ALL PRIVILEGES ON ‘opencats’.* TO ‘opencats’@’localhost’ IDENTIFIED BY ‘databasepassword’;mysql>exit;
Note
Make sure you don’t forget the ; on the end of every line!
Download the OpenCATS files
$ cd /var/www/html$ sudo wget https://github.com/opencats/OpenCATS/releases/download/0.9.4/opencats-0.9.4-full.zip$ sudo unzip opencats-0.9.4-full.zip$ sudo mv /var/www/html/home/travis/build/opencats/OpenCATS opencats$ sudo rm -Rf /var/www/html/home /var/www/html/opencats/INSTALL_BLOCK
Note
By default in this documentation for OpenCATS version 0.9.4 the directory would be opencats. You can name it whatever you want. Just remember that all of the directory locations from here on must match the name of the directory you create, including capitol letters.
Note
If you have tried installing OpenCATS before, or for any reason see something called INSTALL_BLOCK in this directory, you MUST delete it. This will prevent OpenCATS from installing. The command for that would be $ sudo rm INSTALL_BLOCK.
Server and Directory permissions
$ sudo chown www-data:www-data opencats
Warning
make sure this is set to EXACTLY the name of your OpenCATS directory, default for version 0.9.4 would be OpenCATS-0.9.4
$ sudo chown -R www-data:www-data opencats$ sudo chmod 770 opencats/attachments$ sudo chmod 770 opencats/upload
Install resume indexing tools
$ sudo apt-get install antiword poppler-utils html2text unrtf
Install the OpenCATS software
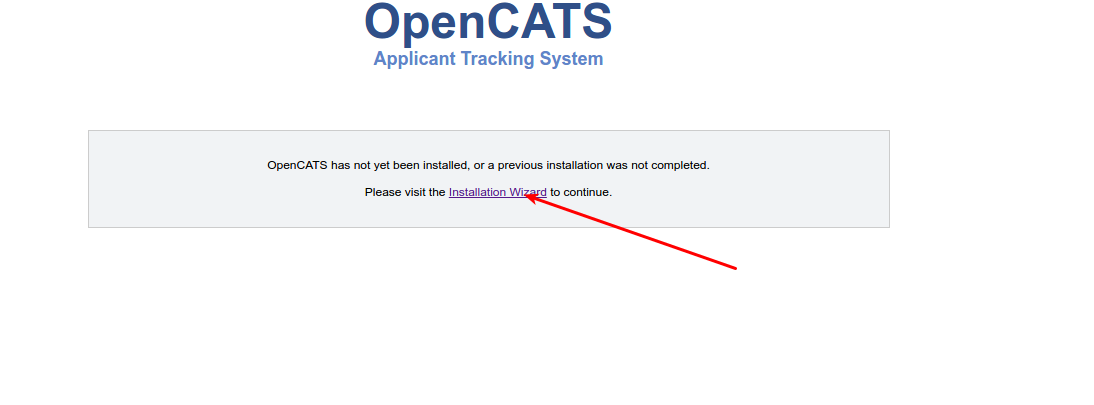
In your browser, go to localhost/opencats (Or use the address of your server or VPS in place of “localhost”).
Note
If you have already attempted to install OpenCATS and the installer doesn’t load, check to see if there is a file called ‘INSTALL_BLOCK’ in the OpenCATS directory. Delete it to allow the installer to run.
Click: Installation Wizard
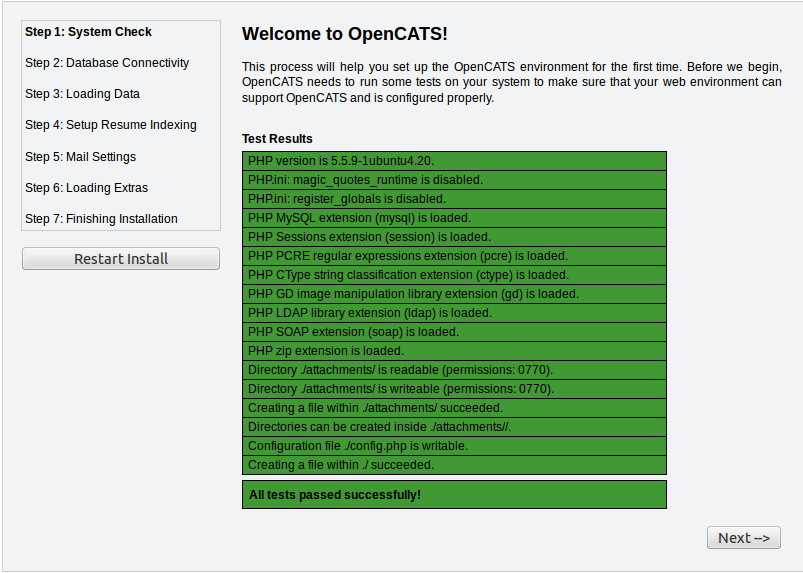
Step 1: System Connectivity
This step makes sure you have the required server environment set up correctly.
Note
Green = good.
Note
Yellow = OpenCATS will work, but some functions may not.
Warning
Red = Bad You can’t continue the installation until a server environment issue is fixed.
If you see all green and/or yellow, click Next
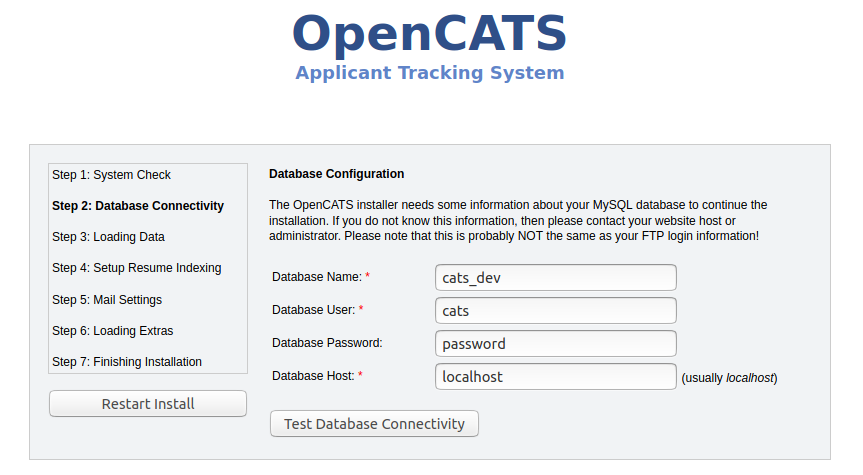
Step 2: Database connectivity
Enter your OpenCATS MySQL/MariaDB database name, MySQL/MariaDB database username, MySQL/MariaDB database password, and MySQL/MariaDB database host address in these boxes.
Note
If you are running OpenCATS locally on your computer, or on some shared hosts, the host address will be localhost. If your server, VPS (some shared hosting too), you will need to enter the specific address to access.
Click Test Database Connectivity
Note
I usually get red the first few tries after click the test database connectivity button. If you try more than a couple times and it stays red, you have either entered your MySQL/Mariadb information incorrectly, or you have set your MySQL/MariaDB database up incorrectly. It needs to be corrected before proceeding.
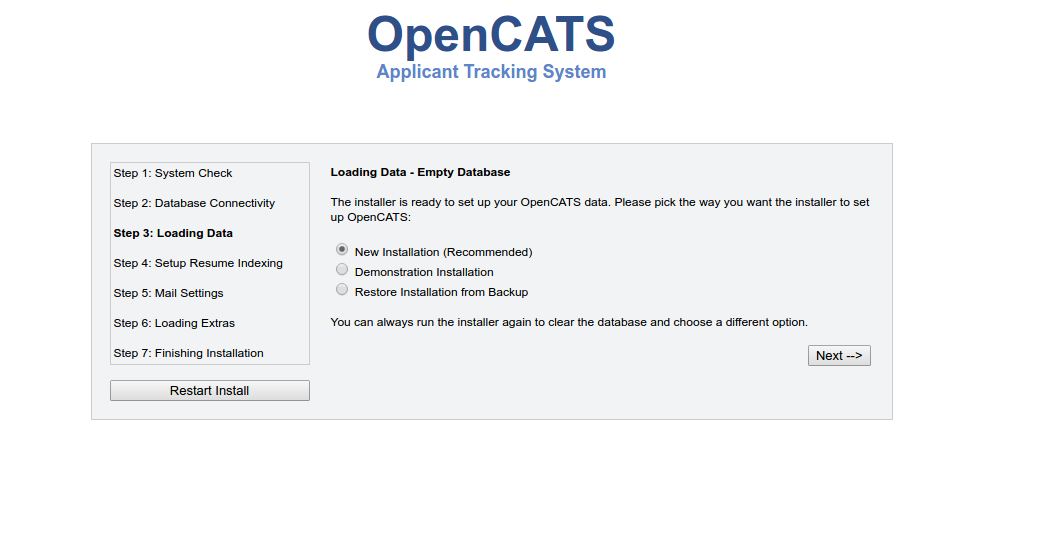
Step 3: Loading Data
For a new installation, select New Installation, then next
Note
Demonstration Installation will autopopulate OpenCATS with general example clients, candidates, job orders, etc. There’s no reason to use this in my opinion.
Note
Restore installation from backup will be covered in a future tutorial
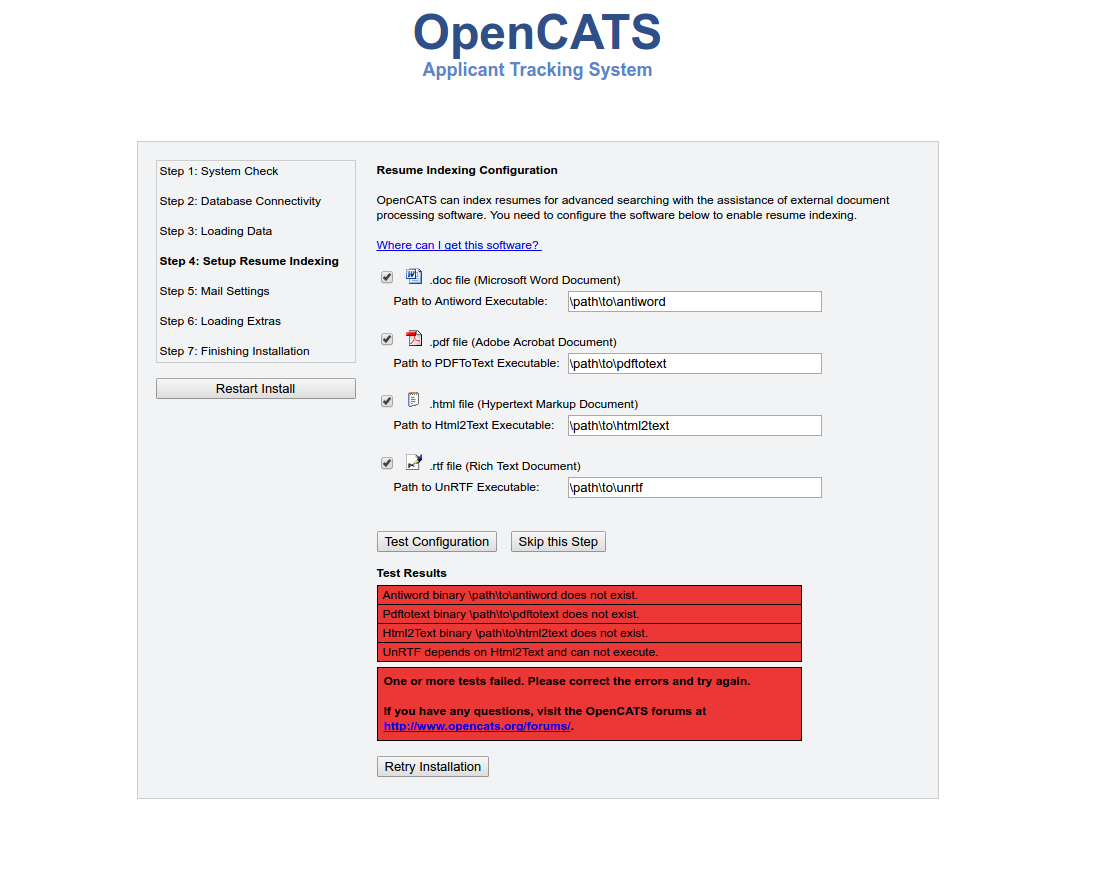
Step 4 Setup resume indexing
- Change the paths to the executables to the correct paths. They should be as follows:
- /usr/bin/antiword
- /usr/bin/pdftotext
- /usr/bin/html2text
- /usr/bin/unrtf
- Click
Test Configuration
Note
Like earlier, I always get red the first couple clicks, then it will go green. If you get green, proceed. If it stays red after a few click, the system isn’t recognizing the executables. There may be a path issue that needs corrected.
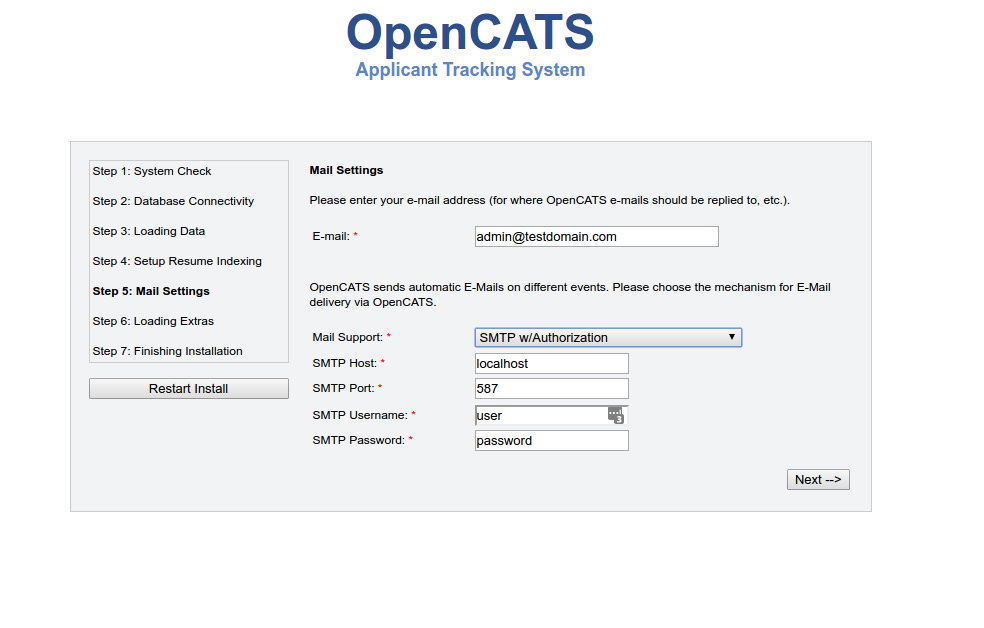
Step 5 Mail Settings
OpenCATS can send emails. If you don’t want to use it, you don’t have to. OpenCATS works great either way!
Choose an option from the Mail Support drop-down bar, fill the necessary information in (if you are using it) and click Next
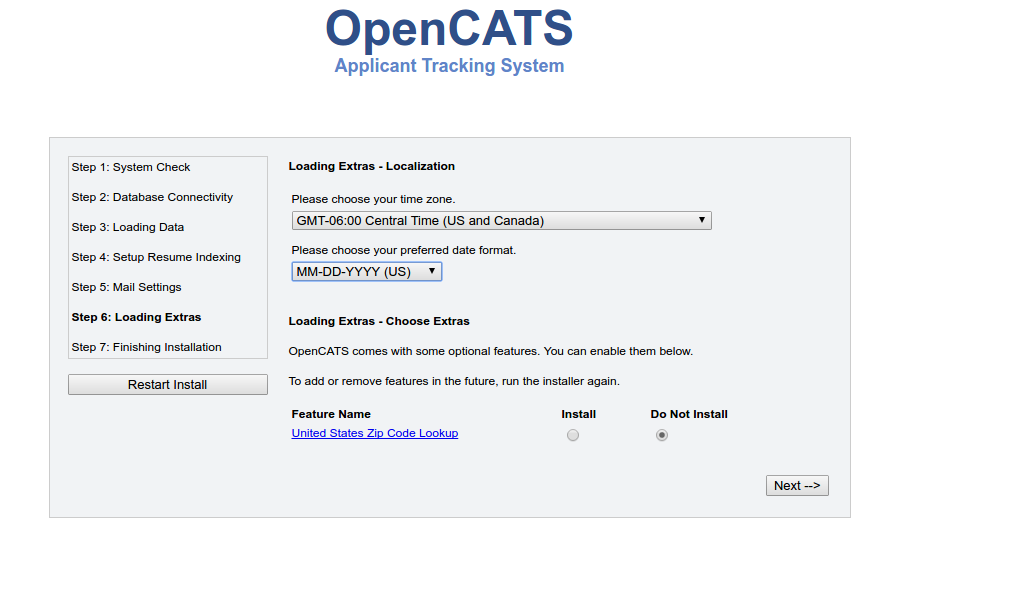
Step 6 Loading extras
Don’t forget to set the time zone to your area!
Warning
If you forget to set the time zone ALL of the timestamps on every note in OpenCATS will be wrong. Set the time zone correctly. You will thank us…
Choose the date format you like best
(United States only) choose to install (if you want) zip code lookup
Click next
Step 7 Finishing installation
Runs through the installation process. You should see a box and some pretty bars moving. It shouldn’t take long.
Note
The default username and password are: admin/admin (all lowercase)
Click Start OpenCATS for your login screen.
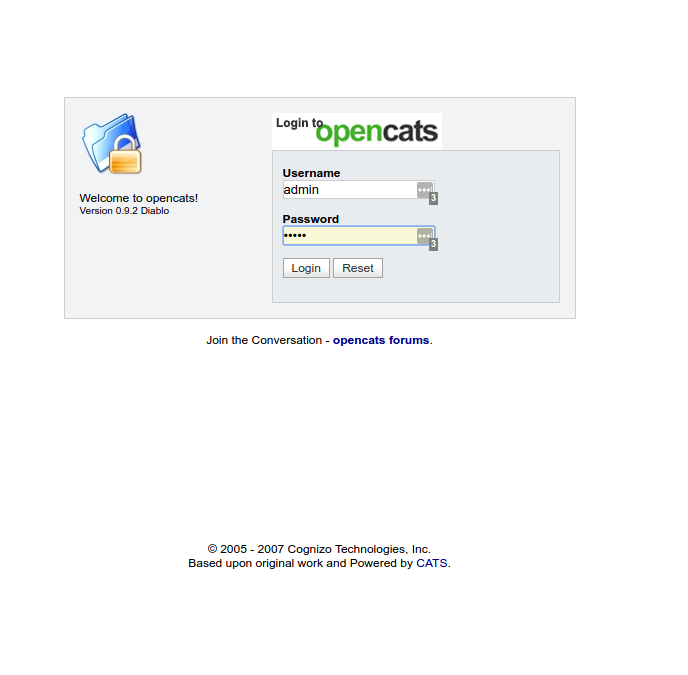
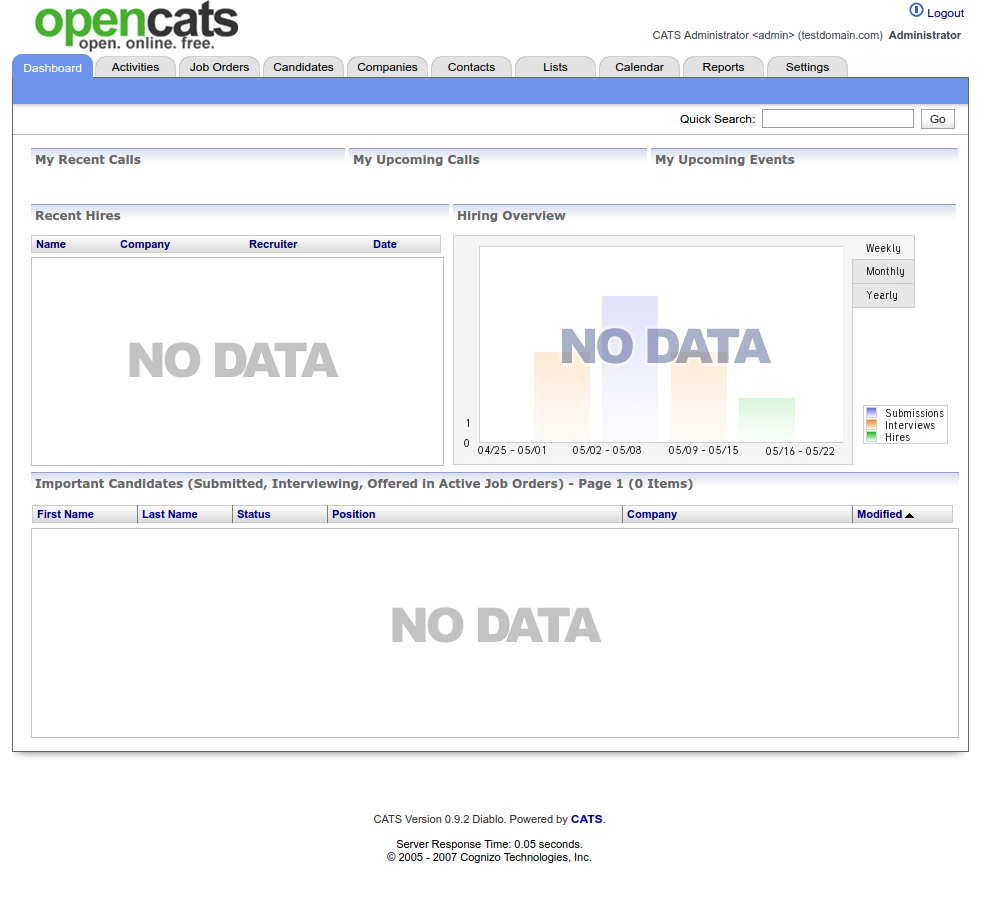
Success!!
Your brand new OpenCATS applicant System!