Install on Shared-hosting (Godaddy, Bluehost or similar)
You can install OpenCATS right to your shared hosting account! This way OpenCATS will be web accessible from any computer and multiple users, without the hassle of setting up and running a server.
These instructions will walk you through setting up OpenCATS on a Godaddy hosting account. Major web-hosts should be a similar process, though you may have to search and make small tweaks.
Note
There are benefits and down-sides to running your OpenCATS system through a shared hosting account. The main benefit is that OpenCATS will be web accessible to any user from any location, and not limited to your local machine. You will however lose the resume-indexing tools with a shared-hosting environment. Which means that resumes will NOT be keyword searchable.
Note
As this documentation gets updated, the OpenCATS version in the images may not match the OpenCATS versions discussed in the documentation.
Download OpenCATS to your computer
Click this link to download the OpenCATS files, we will need them later:
GoDaddy My Hosting Dashboard
Note
All images use Godaddy for an example. If you have a different hosting provider, this will likely look a little different.
Log into your Godaddy account Scroll down to the webhosting section and click manager (on the right) It should look like this:
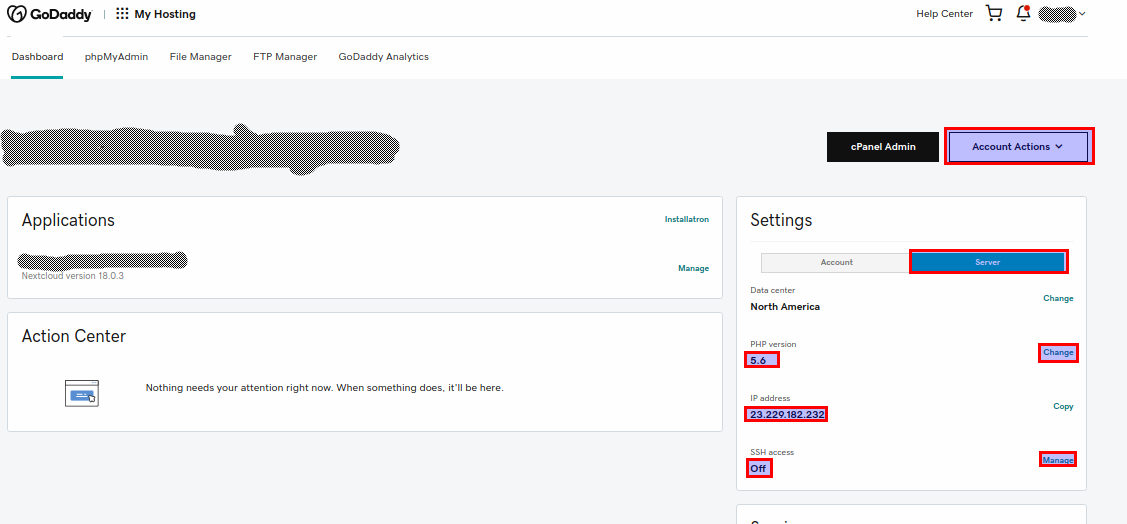
- In the SSH access section, click
Manage - Turn SSH access On
CPanel-File Manager
- Click on
CPanel Admin
Towards the top, find the “files” section and click “File Manager”.

It will open up a new tab in your browser.
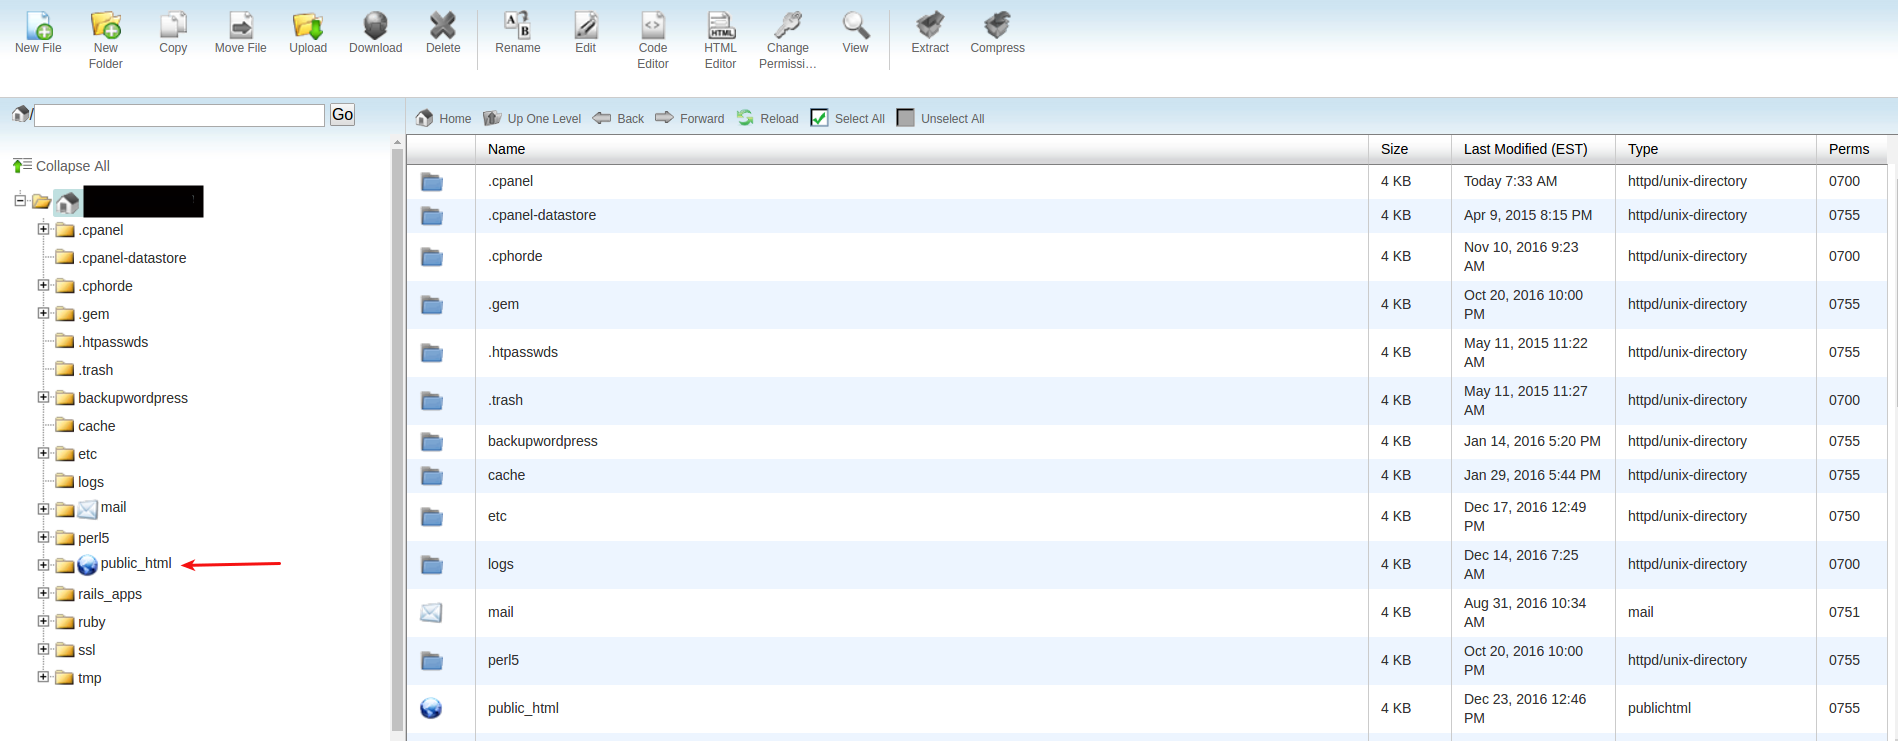
Double click on your main web directory (mine is listed as public _html)

Now we need to upload the OpenCATS zip file that we downloaded into this directory
Click Upload
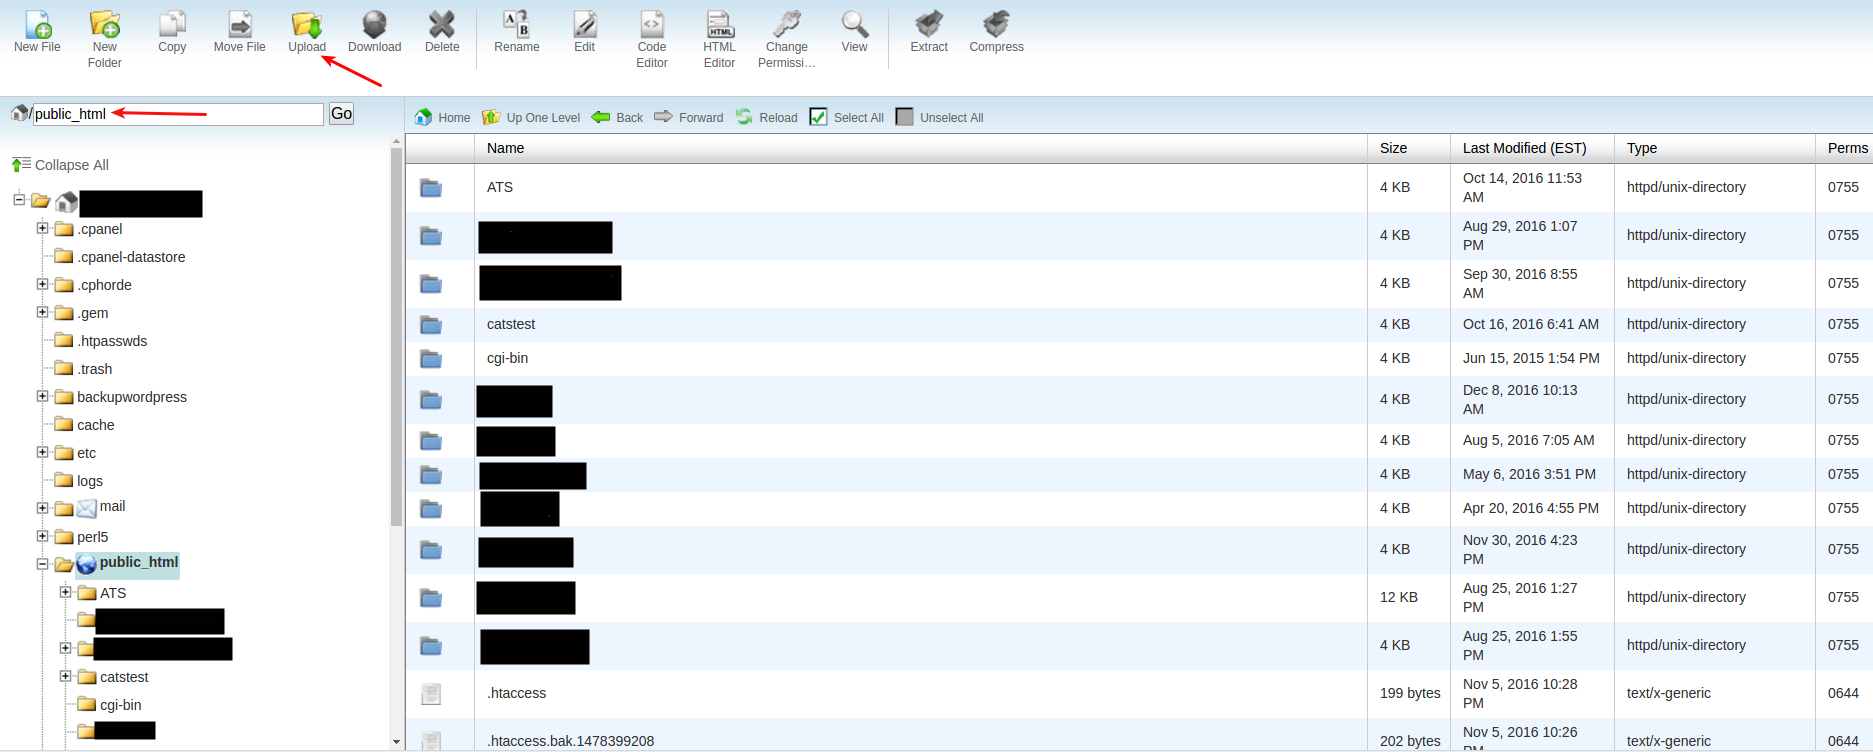
This should bring you to a file upload screen.
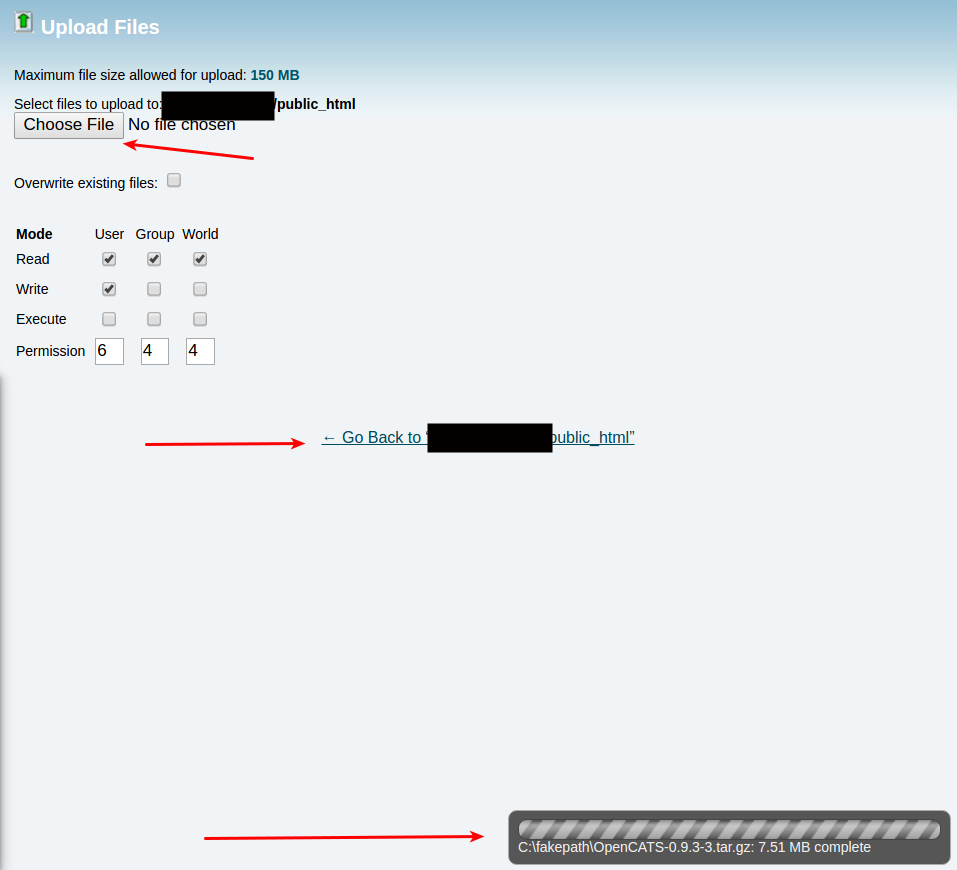
- Click
Choose File - Find the
opencats-0.9.4-full.zipfile that we downloaded and select it.
Note
Make sure you wait for the upload to complete before going back into the public _html folder
- When the upload is finished, click the
Go Back to public _html - Scroll down to the
opencats-0.9.4-3.zipwe just uploaded and click it once to highlight it. - Click on
Extractat the top to extract the OpenCATS files from the Zip file.

This should open a new screen:
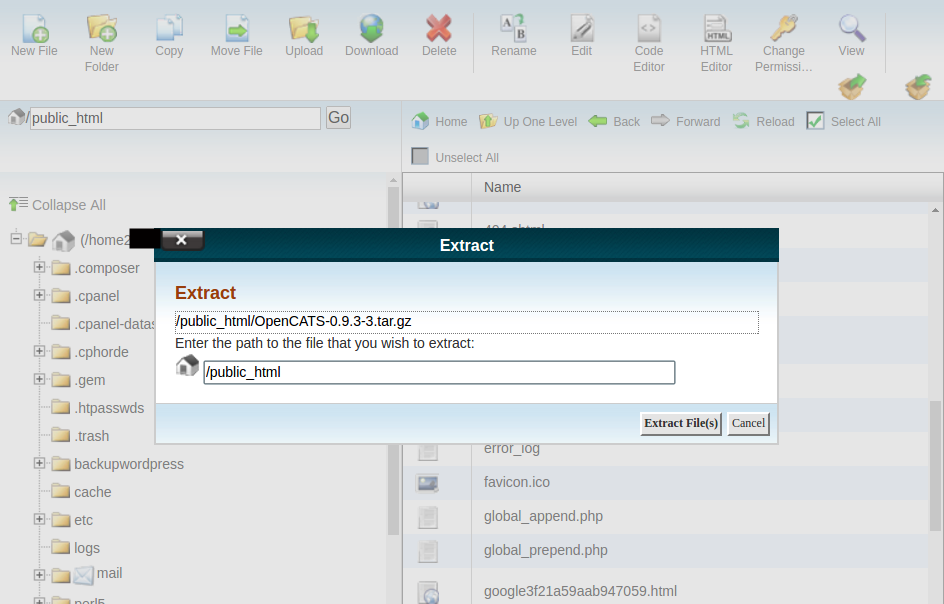
The default address should be fine, click Extract File(s)
Now you should see the extracted folder home listed in your public _html directory.
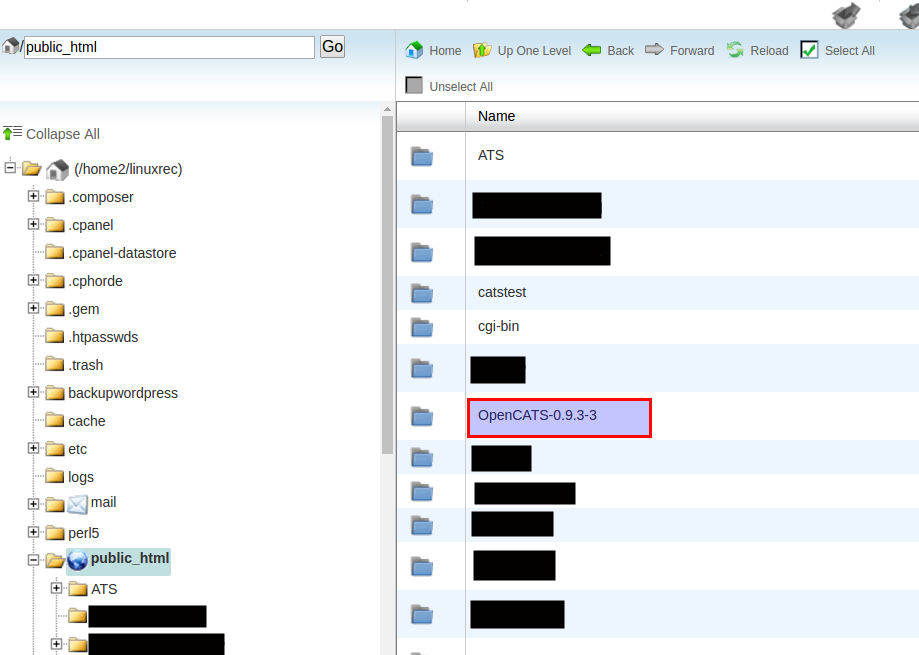
Note
If you want to rename the folder, that’s ok. The folder name will be part of the web address you use to access your OpenCATS Installation.
CPanel-PHP
- Return to the main CPanel screen.
Warning
Changing PHP versions on hosting accounts MAY affect web sites or programs that are already installed. You should back up any critical websites or programs BEFORE switching PHP versions.
- Scroll down to the Software section and click on “Select PHP Version”.

This will open a screen to select what version of PHP your hosting is running. OpenCATS should have PHP 5.6.
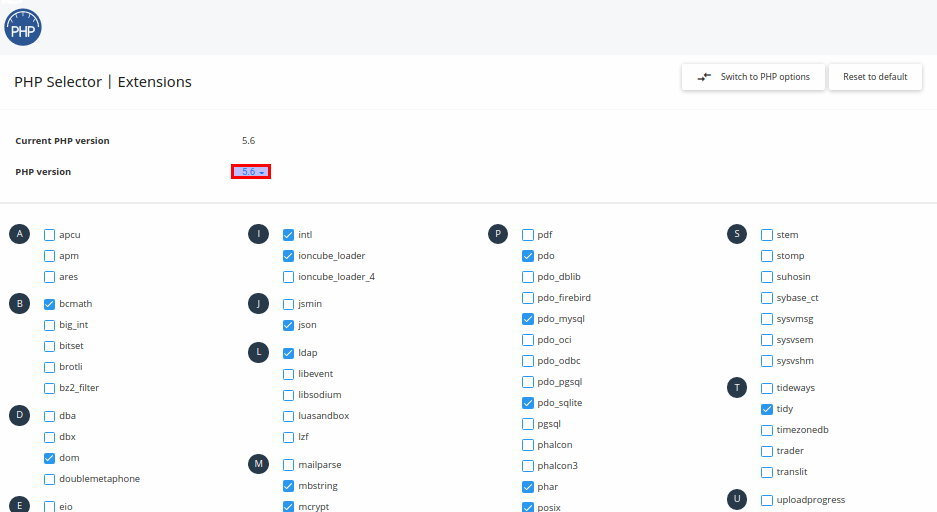
Select the following extensions (If they are available) MySQL, PCRE, ctype, GD, LDAP, SOAP, ZIP
- Go back to the main CPanel menu
CPanel-MySQL
Note
You will need the MySQL database name, user name and password later. Make sure you write it down as you create them.
- Scroll down to the Database Tools section and click
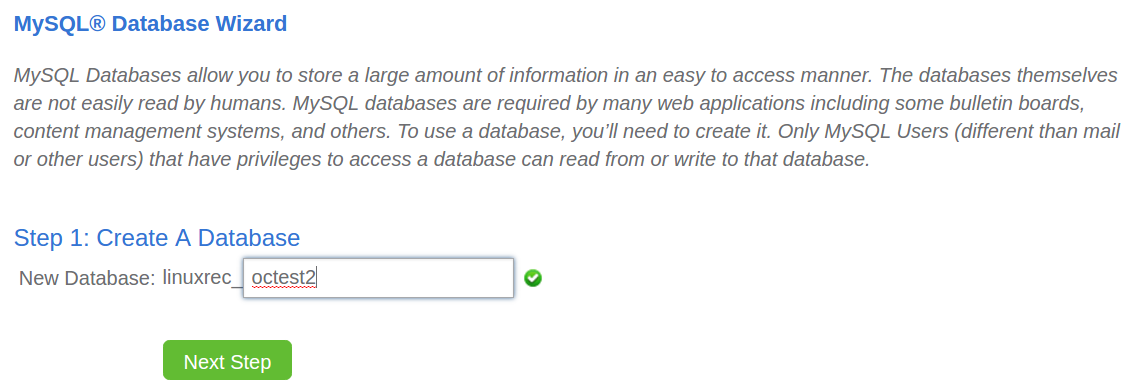
MYSQL Database Wizard.

- Type in a MySQL database name (whatever you want, for this I am doing “octest2”).
- Click next step.
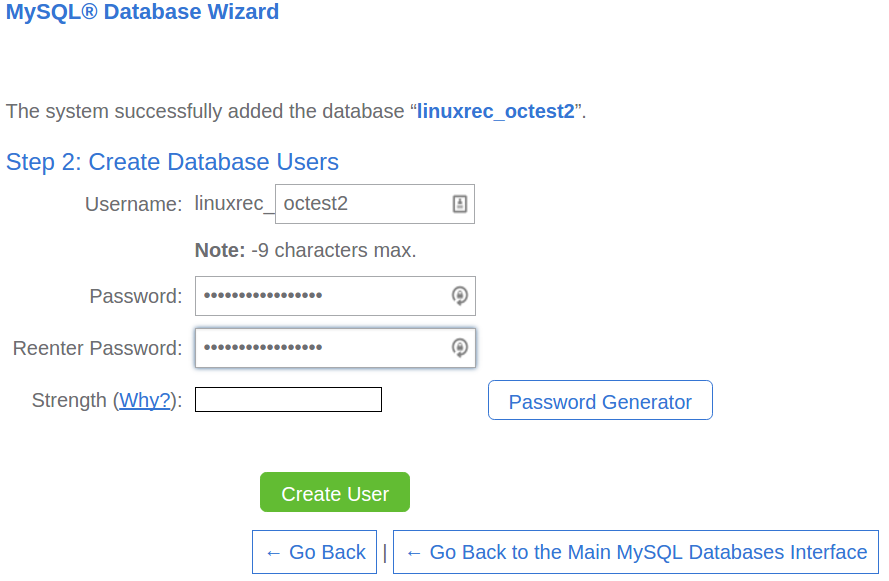
- Enter a database username (whatever you want, for this I am doing “octest2”).
- Enter a password. For shared hosting, it should be a strong password.
- Click
Create user.
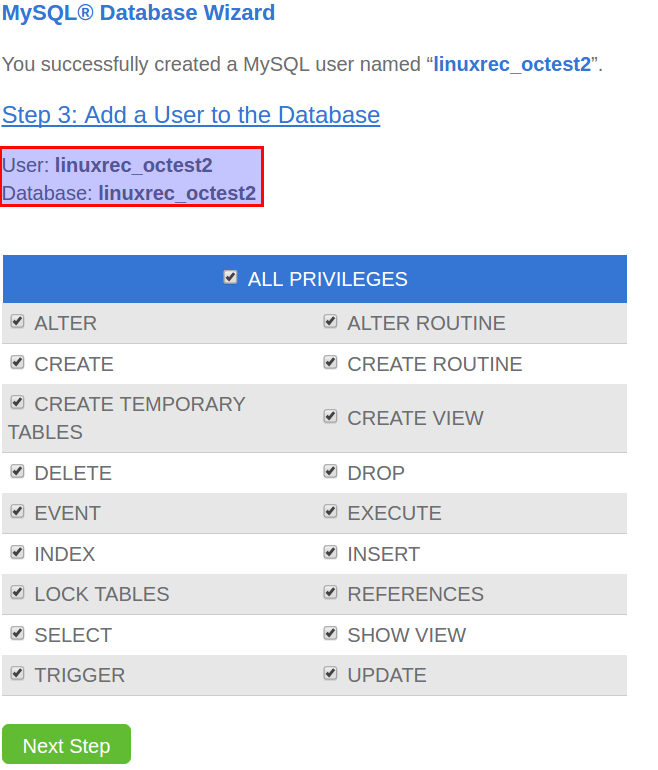
- Check
All privileges. - Click
Next step.
Note
Some hosting services will add account specific things to MySQL usernames and database names. Note the red box in the image below. THESE will be the user names and database names we enter into our OpenCATS system.
If everything has been done correctly, you should be done in your web hosting account.
- Open your web browser
SSH and Run Composer
Download and install Putty (A program that allows you to SSH into the shared hosting server) Putty-Download <https://www.chiark.greenend.org.uk/~sgtatham/putty/latest.html>`_
For Ubuntu, in terminal type: sudo apt install putty
Install the OpenCATS software
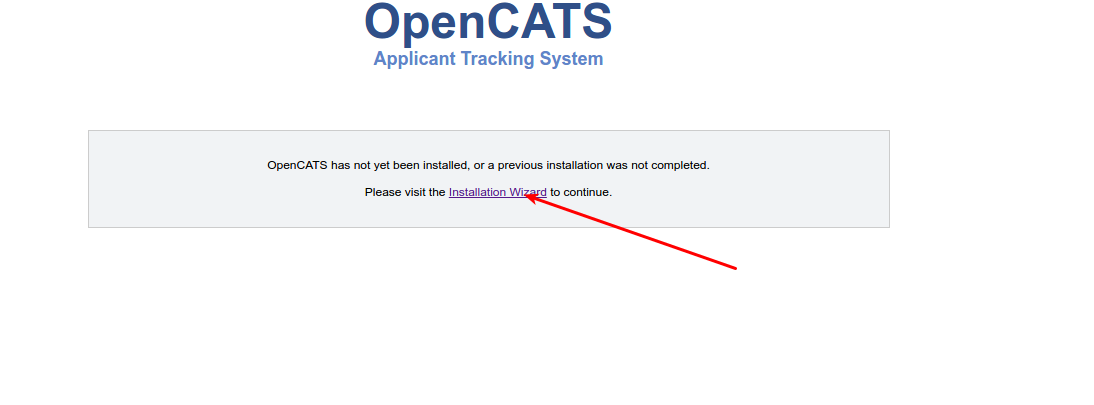
In your browser, go to yourdomainname.com/OpenCATS (if you changed the main directory name, replace OpenCATS with the new name).
Note
If you have already attempted to install OpenCATS and the installer doesn’t load, check to see if there is a file called ‘INSTALL_BLOCK’ in the OpenCATS directory. Delete it to allow the installer to run.
Click: Installation Wizard
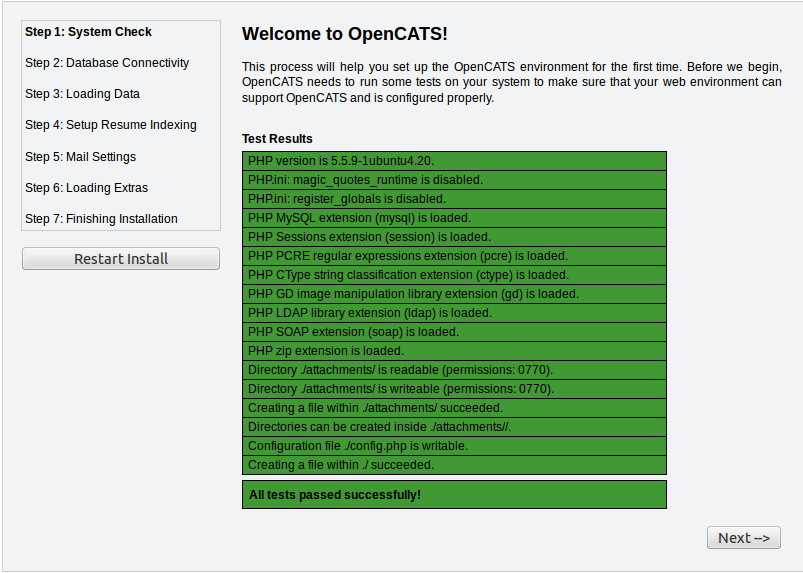
Step 1: System Connectivity
This step makes sure you have the required server environment set up correctly.
Note
Green = good.
Note
Yellow = OpenCATS will work, but some functions may not. Common yellow errors on shared hosting are for LDAP and SOAP extensions. These extensions are not necessary and you do not lose any functionality.
Warning
Red = Bad You can’t continue the installation until a server environment issue is fixed.
If you see all green and/or yellow, click Next
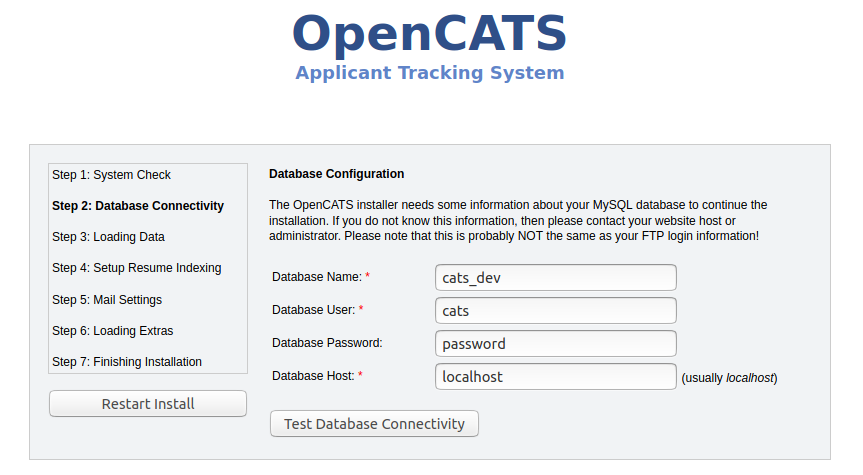
Step 2: Database connectivity
Enter your OpenCATS MySQL/MariaDB database name, MySQL/MariaDB database username, MySQL/MariaDB database password, and MySQL/MariaDB database host address in these boxes.
Note
If you are running OpenCATS locally on your computer, or on some shared hosts, the host address will be localhost. If your server, VPS (some shared hosting too), you will need to enter the specific address to access.
Click Test Database Connectivity
Note
I usually get red the first few tries after click the test database connectivity button. If you try more than a couple times and it stays red, you have either entered your MySQL/Mariadb information incorrectly, or you have set your MySQL/MariaDB database up incorrectly. It needs to be corrected before proceeding.
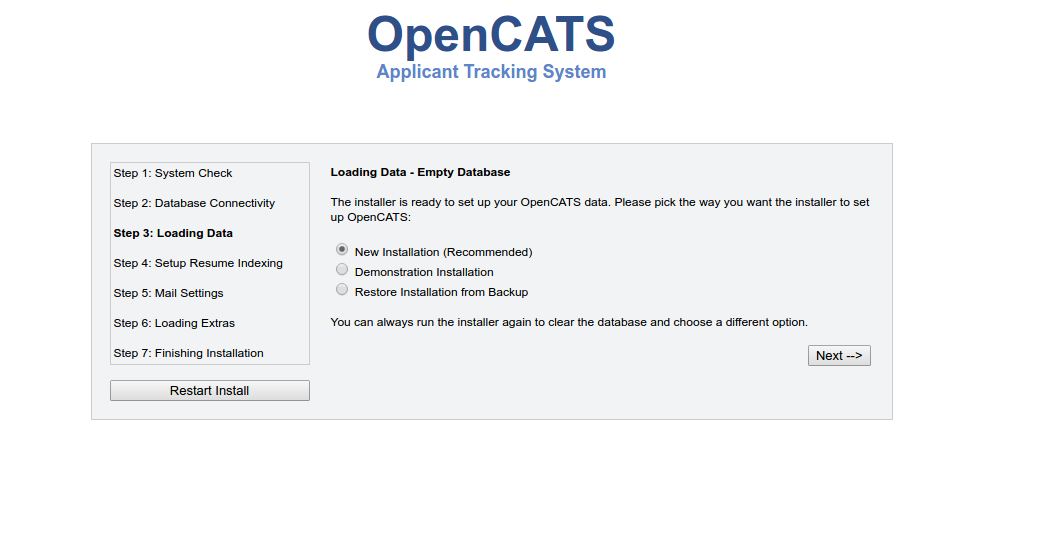
Step 3: Loading Data
For a new installation, select New Installation, then next
Note
Demonstration Installation will auto-populate OpenCATS with general example clients, candidates, job orders, etc. There’s no reason to use this in my opinion.
Note
Restore installation from backup will be covered in a future tutorial
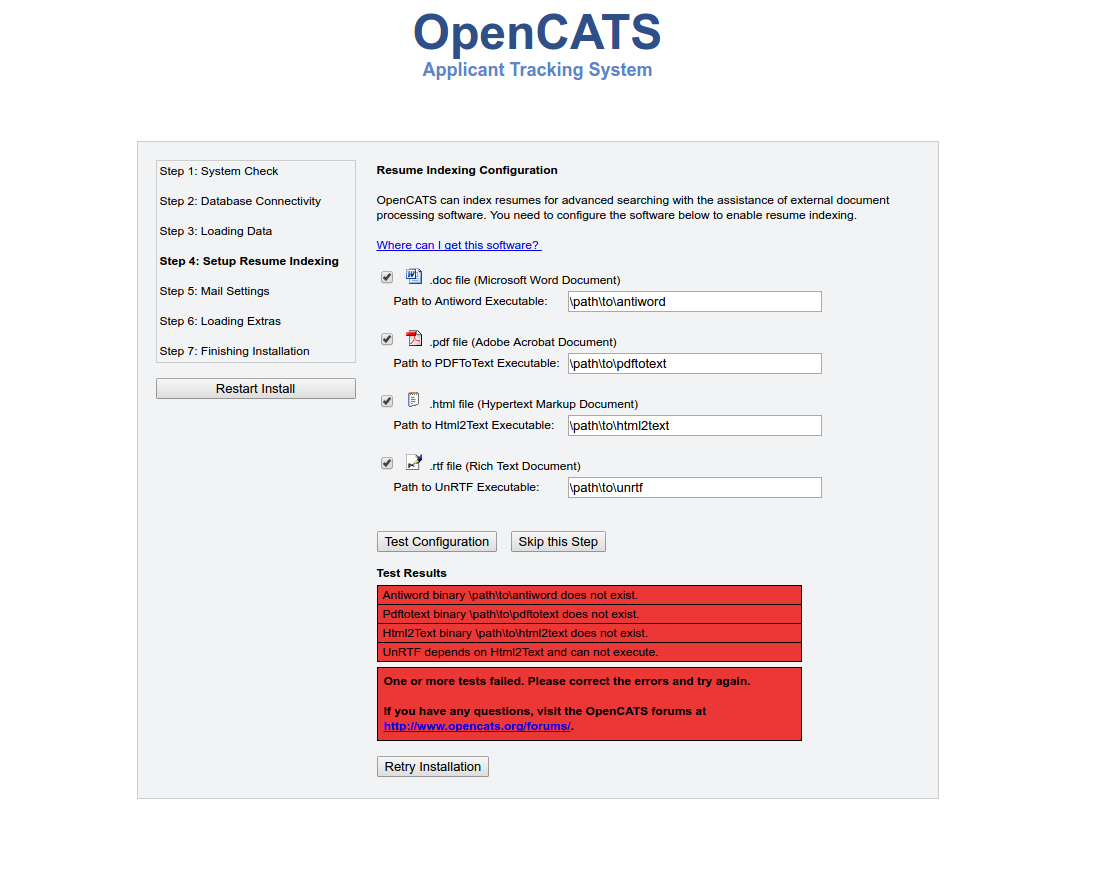
Step 4 Setup resume indexing
For a shared hosting environment, you can not use the resume indexing tools. You need root access to install these programs and most shared hosts do not allow that. Occasionally, with a smaller hosting company, you can contact them and request the programs be installed and they will do that.
- Click
Skip this step
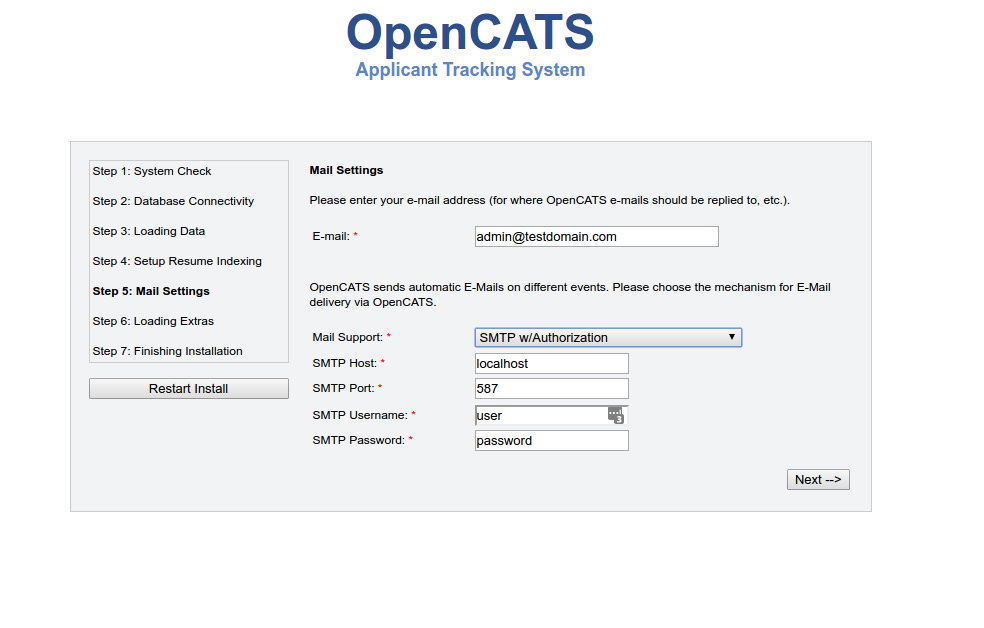
Step 5 Mail Settings
OpenCATS can send emails. If you don’t want to use it, you don’t have to. OpenCATS works great either way!
If you do not know what your settings are, or don’t want the mail functionality in OpenCATS, click the drop-down bar and select None.
Choose an option from the Mail Support drop-down bar, fill the necessary information in (if you are using it) and click Next
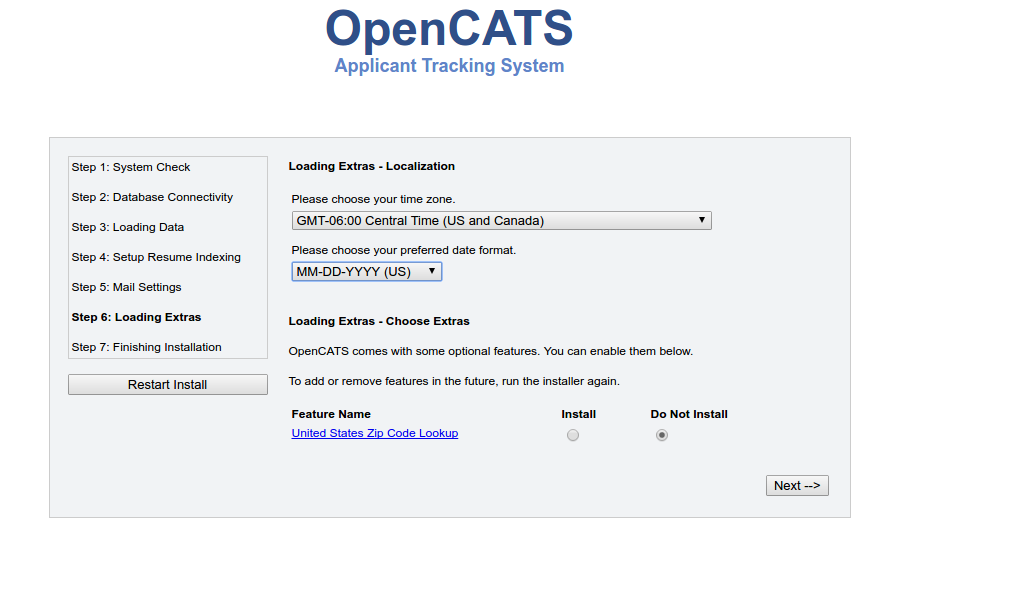
Step 6 Loading extras
Don’t forget to set the time zone to your area!
Warning
If you forget to set the time zone ALL of the timestamps on every note in OpenCATS will be wrong. Set the time zone correctly. You will thank us…
Choose the date format you like best
(United States only) choose to install (if you want) zip code lookup
Click next
Step 7 Finishing installation
Runs through the installation process. You should see a box and some pretty bars moving. It shouldn’t take long.
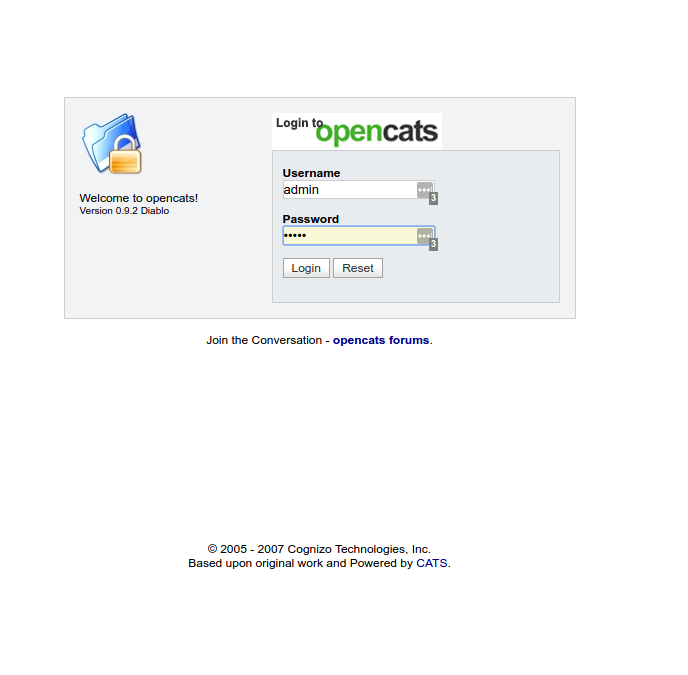
Note
The default username and password are: admin/admin (all lowercase)
Click Start OpenCATS for your login screen.
Success!!
Your brand new OpenCATS applicant System!
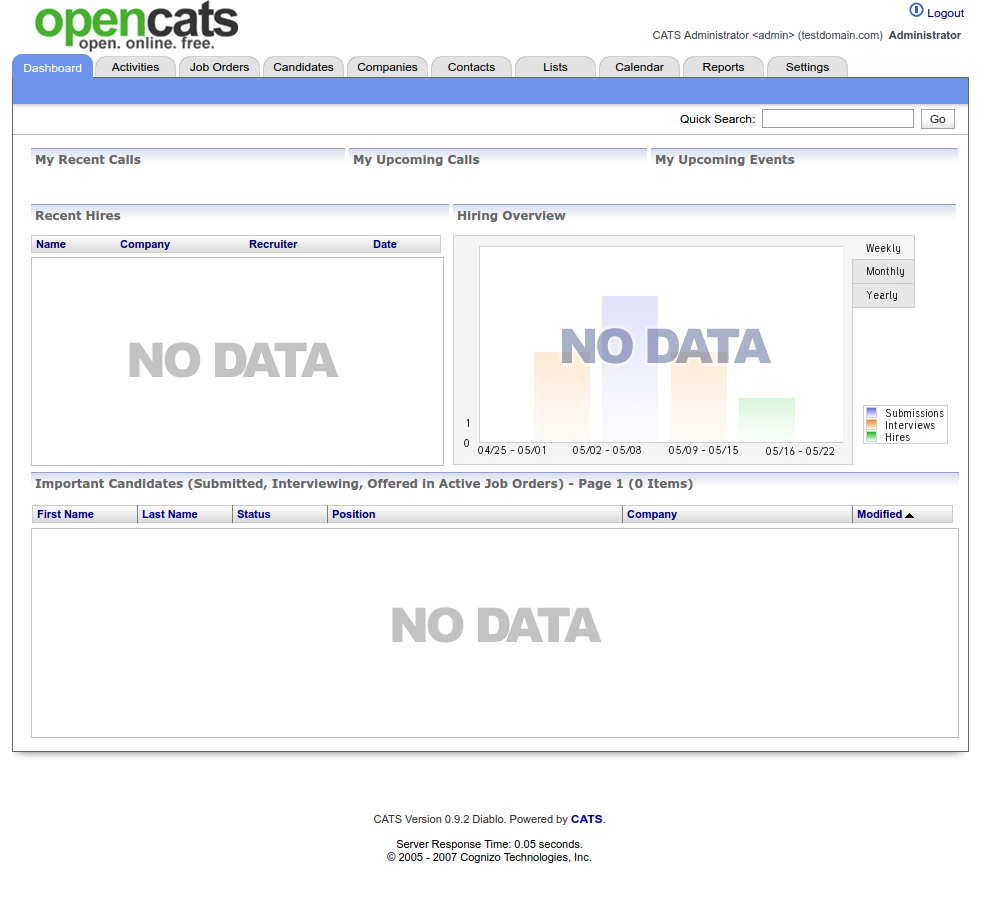
Warning
Now you have a shiny, new Applicant tracking system…change your admin password…RIGHT…NOW. Click Settings then change password. Do…it…right…now.