OS X - OpenCATS Installation Instructions
OS X Prerequisites
Installation instructions are given for the MAMP default install environment only. Requires OS X 10.10.5 or later.
Downloading software and preparing your system
- Download and install - MAMP
- Download - OpenCATS-0.9.4-full
- Extract the files to :
/Applications/MAMP/htdocs
Configure and start MAMP
Start MAMP (First steps)
- On your MAMP click on
Preferences - Configure MAMP based on MAMP instructions
Configure Web Server
- Go to the Web Server tab
- Select Apache or Nginx (whichever is preferred)
- Select Document root -
/Applications/MAMP/htdocs
Setup PHP version
- Click the php tab
- Select php version 5.6.X
Warning
OpenCATS does not currently support php7. It must be 5.6.X
Note
if php 5.6.X is not in the options (free version supports only 2 php versions), it is necessary to define ‘latest’ versions.
Setup available PHP versions:
- Open terminal
- Go to
/Applications/MAMP/bin/php/directory - List php versions
ls - Only the last two php versions listed with above command are displayed in the MAMP
- It is necessary to rename unwanted versions to move them to the begining of the list.
Example: php5.6.1 and php5.6.15, then rename like this
php5.6.15toaphp5.6.15(mv php5.6.15 aphp5.6.15) - Close and start MAMP, you shoud see in preferences php versions as changed.
Create database
- On your MAMP click on
Open WebStart Page - It will open a browser with the MAMP dashboard
- From Tools select phpMyAdmin
- It opens phpMyAdmin in browser
- On the left side, click
newto create a new database

- In the box labeled
database nametypeopencats. - Hit
create
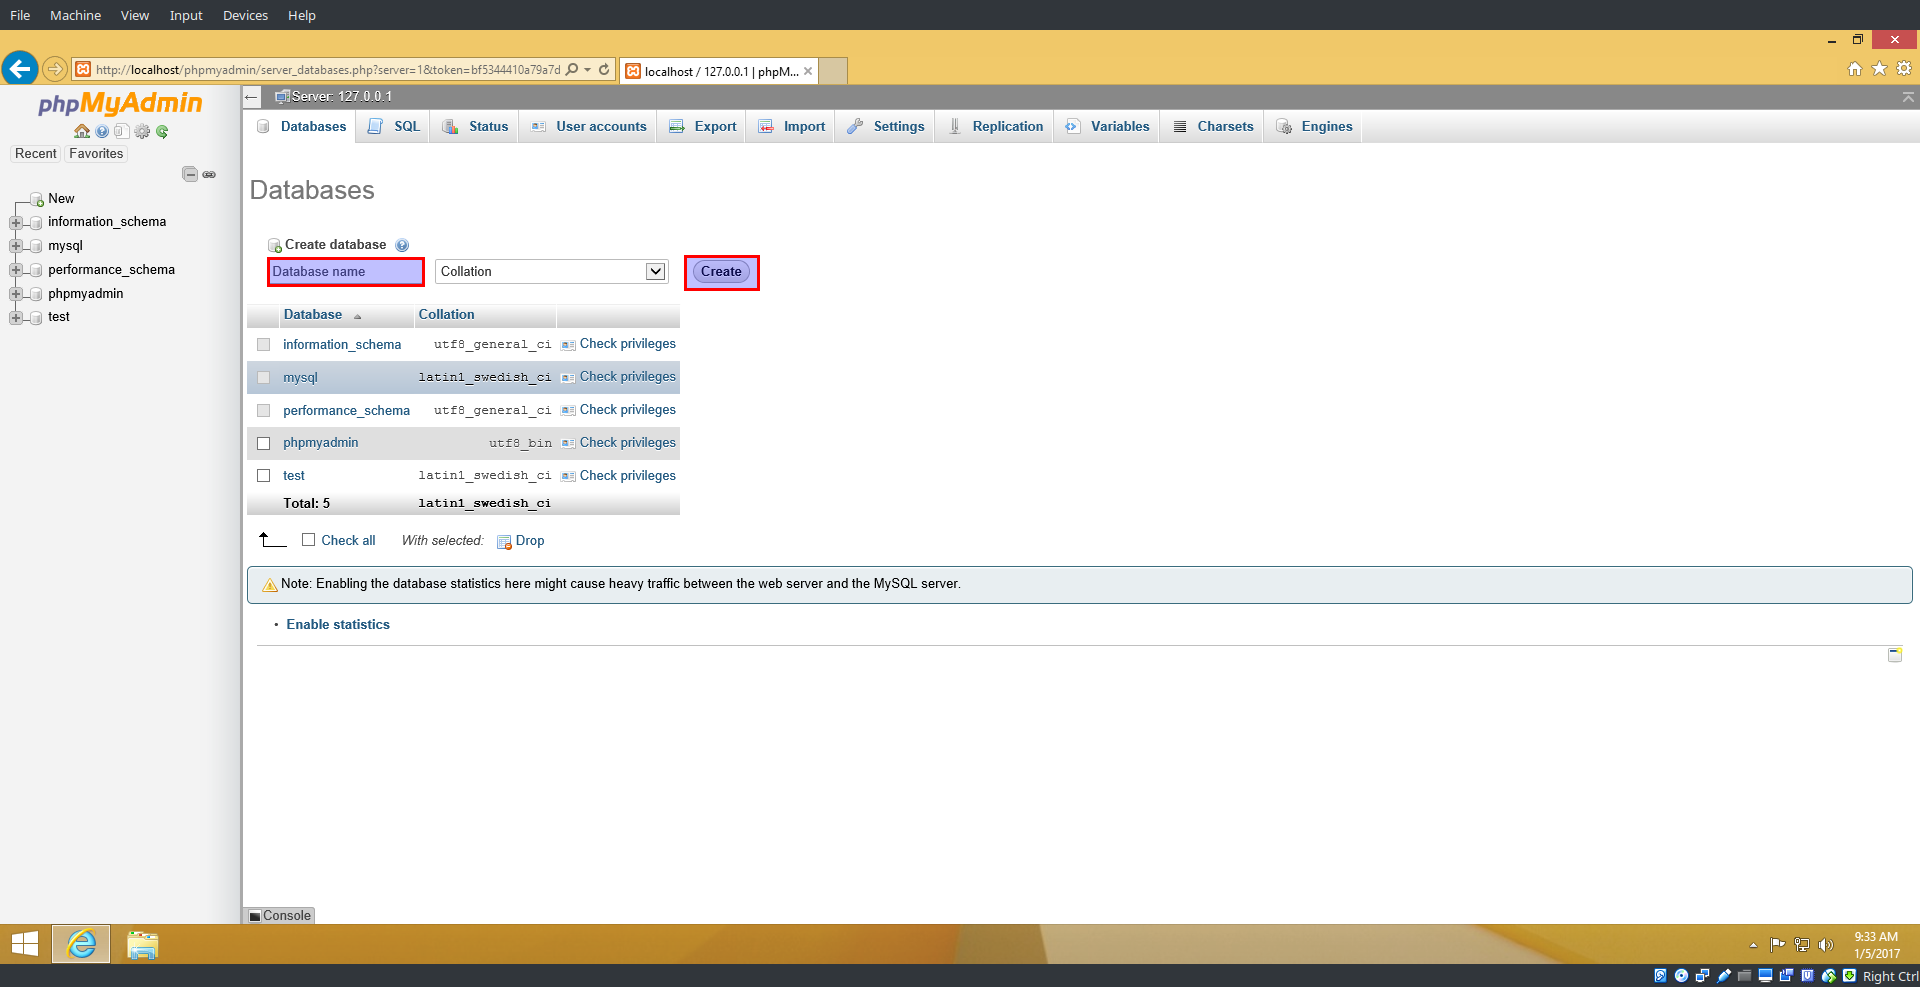
You should now see “opencats” listed among the databases on the left.
- Click the opencats database
- In the top row of tabs, on the right side of the screen, click
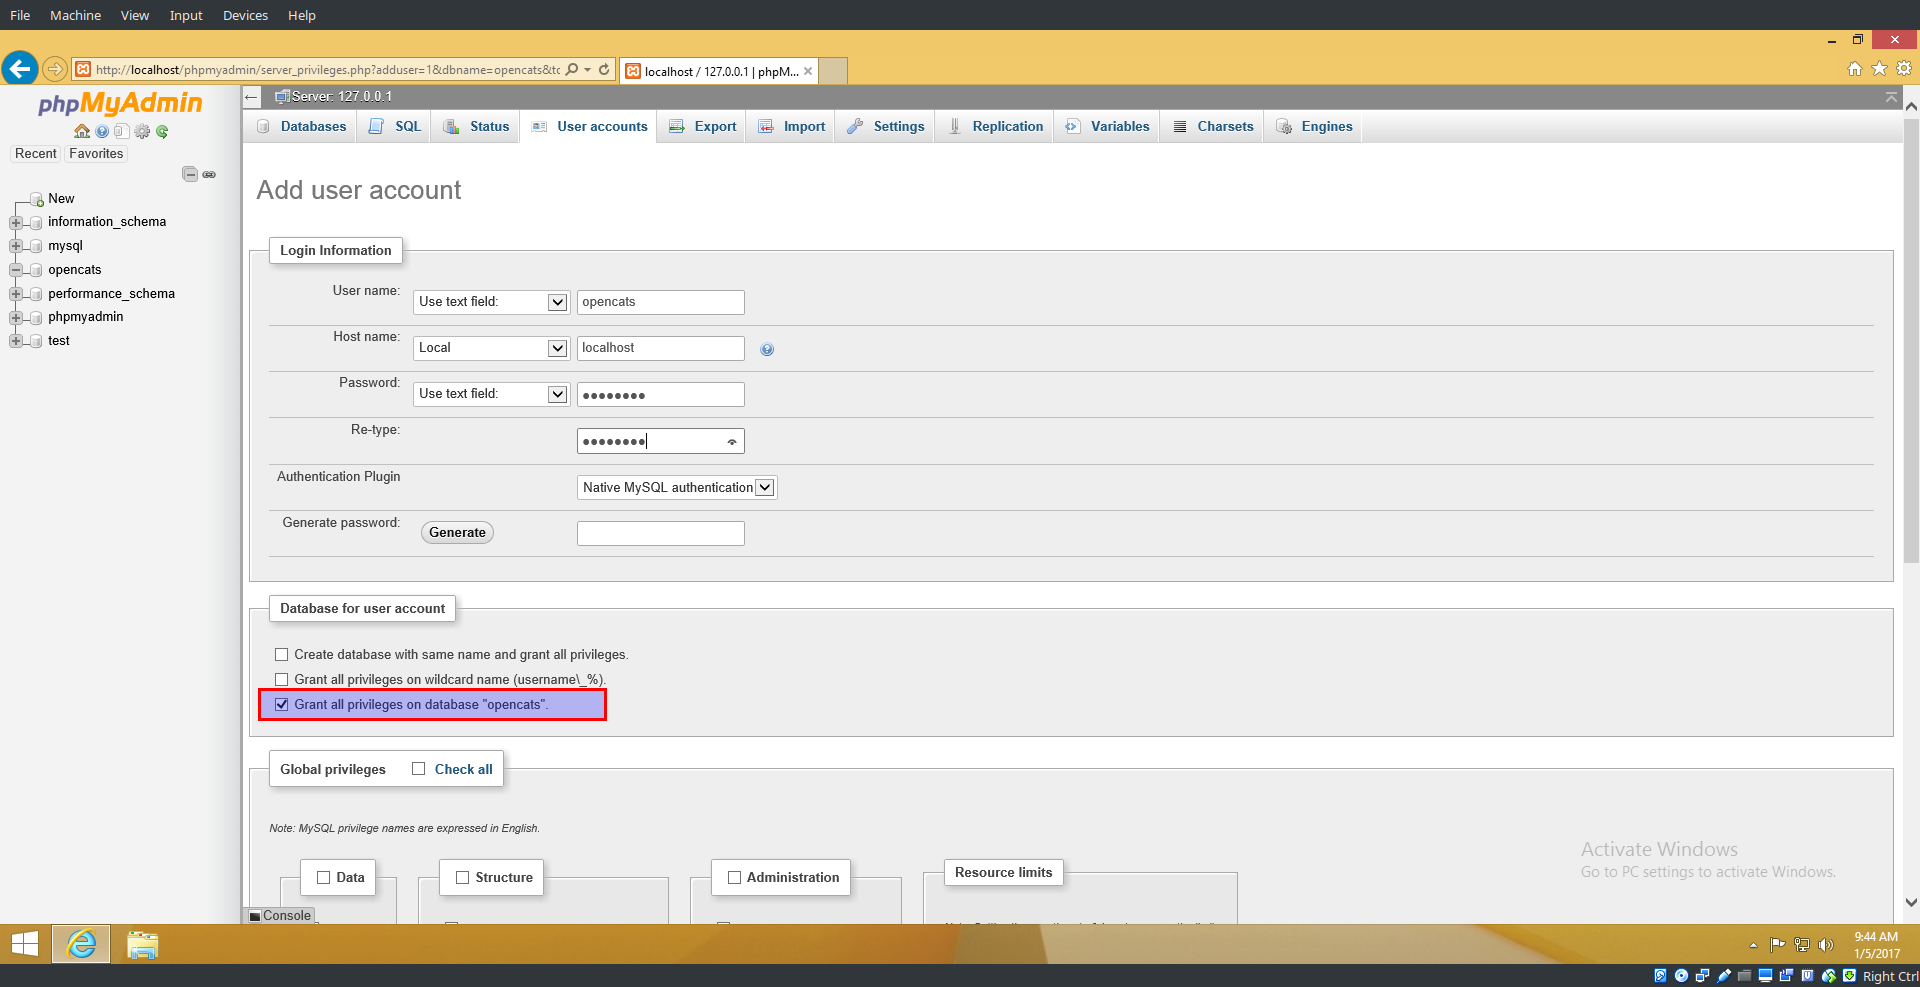
privileges - Click
add user account

- User name, make sure
use text fieldis selected, in the empty box next to it typeopencats - Host name: In the first box, select
localfrom the drop-down options. The second box should saylocalhost - Type opencats for the database password twice
- In the “database for user account section”, confirm that the third checkbox
Grant all privileges on database "opencats"is checked. - Scroll down to the bottom and click
go
Moving your OpenCATS Applicant Tracking System directory.
The current default directory name for the OpenCATS files is /Applications/MAMP/htdocs/home.
- Go to:
/Applications/MAMP/htdocs/travis/build/opencats - Right click on the
OpenCATSdirectory, selectcut. - Go to:
/Applications/MAMP/htdocs, right click and selectpaste. We have moved the main OpenCATS directory into the htdocs directory. - Right click on the
homedirectory and delete it. We don’t need it anymore. - Double click on the OpenCATS directory to go into it.
- Right click on the
INSTALL_Blockdirectory and delete it. The INSTALL_BLOCK file or folder will prevent OpenCATS from being installed on your system.
OPTIONAL - Renaming your OpenCATS directory
The current default directory name for the OpenCATS files is opencats. This will result in the web address in your browser being http://localhost/opencats
If you want to rename the main OpenCATS directory to something else, you can.
- Simply navigate to /Applications/MAMP/htdocs/
- Right click on the OpenCATS directory
- Click
rename - Rename the directory whatever you want (example: ATS)
Now, to access it, your browser address will be http://localhost/ATS
Set up OpenCATS
- On your MAMP click on
Open WebStart Page - It will open a browser with MAMP dashboard
- From the menu, choose
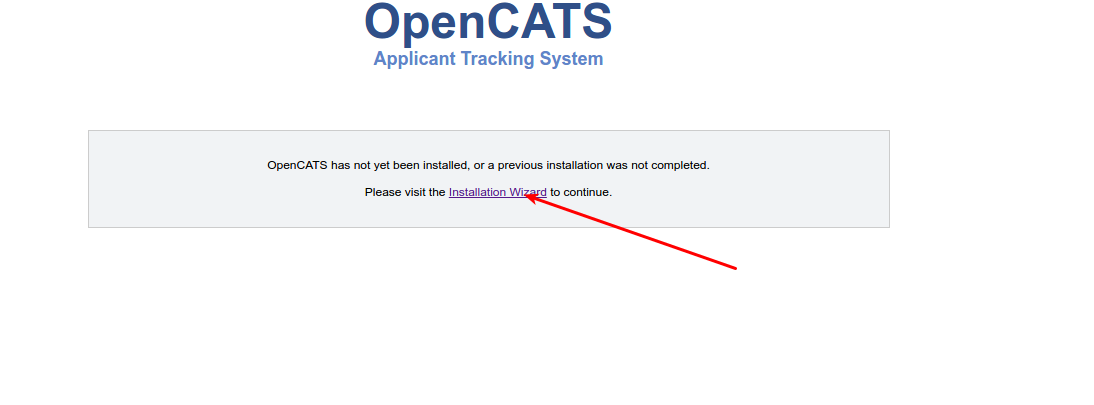
My Website - It will open the OpenCATS installation page in the browser.
If OpenCATS has been configured correctly, you should see a page that looks like this:
Step 1 System Connectivity This step makes sure you have the required server environment set up correctly.
Note
Disregard the yellow errors. They are not necessary for this installation and you will not lose any OpenCATS functionality.
If you see all green and/or yellow, click Next
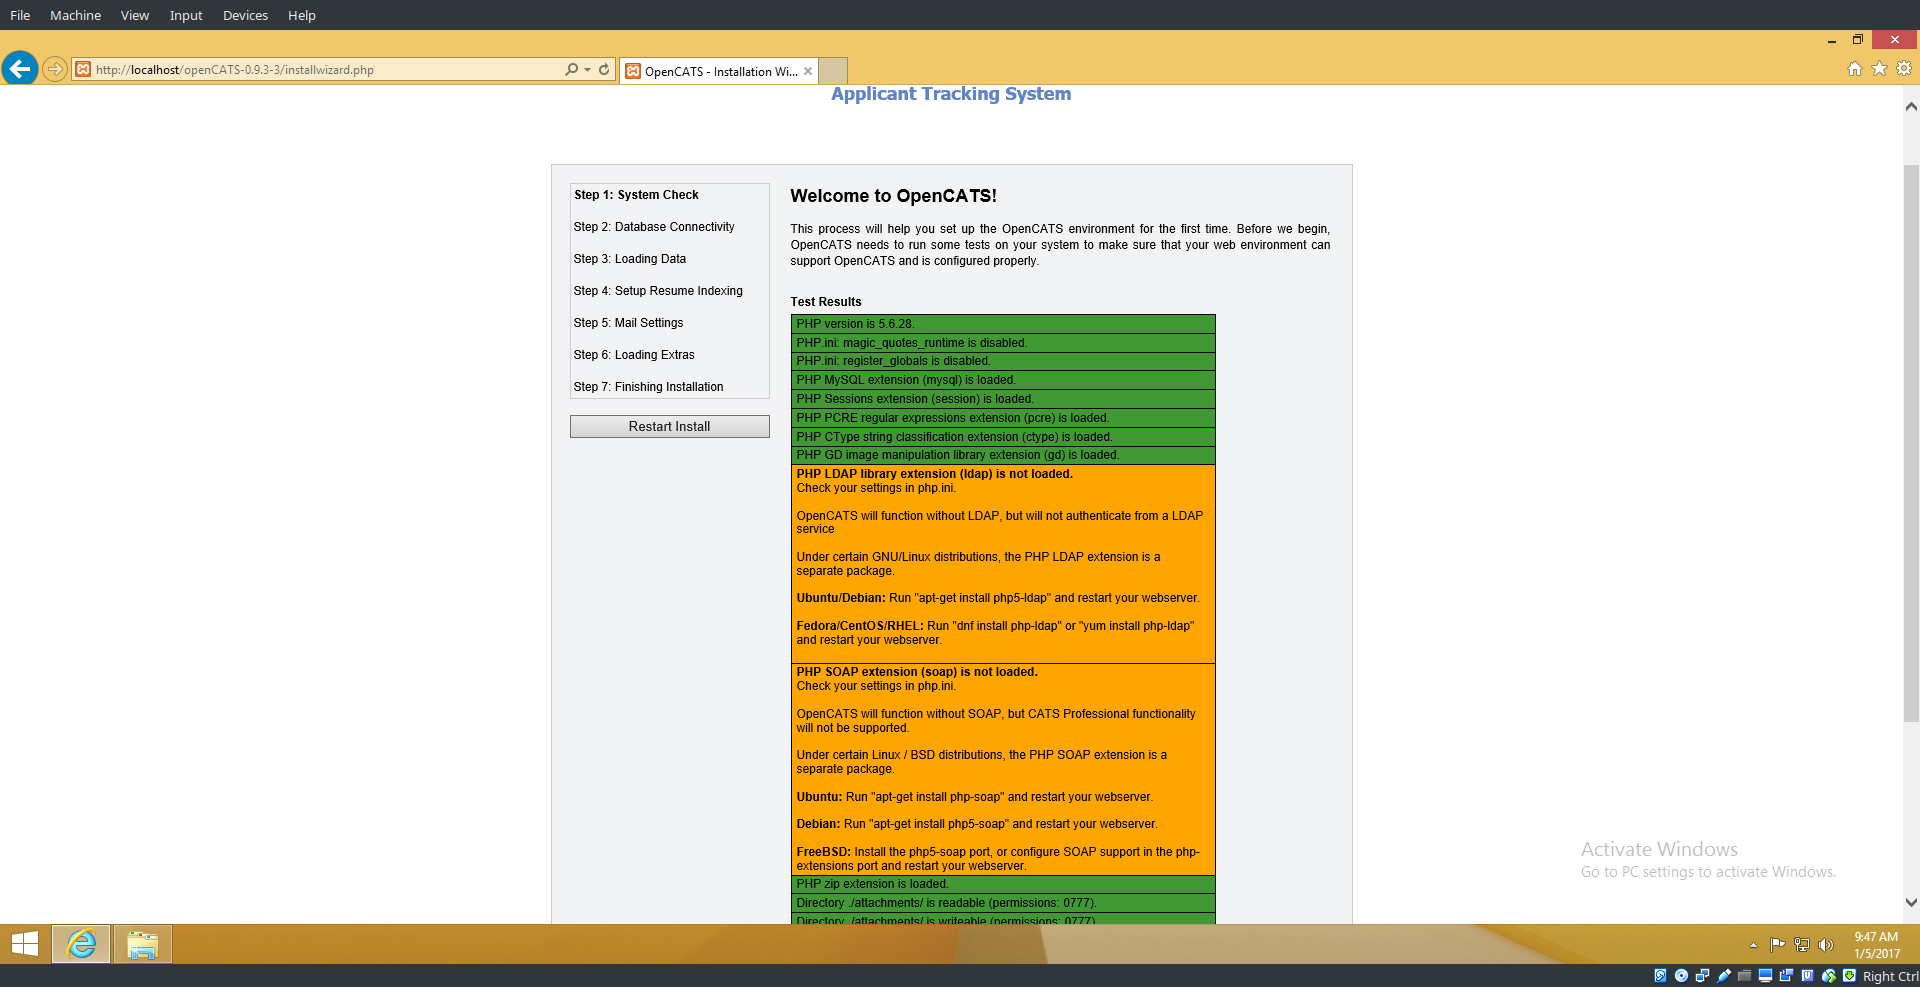
Warning
Red = Bad You can’t continue the installation until a server environment issue is fixed.
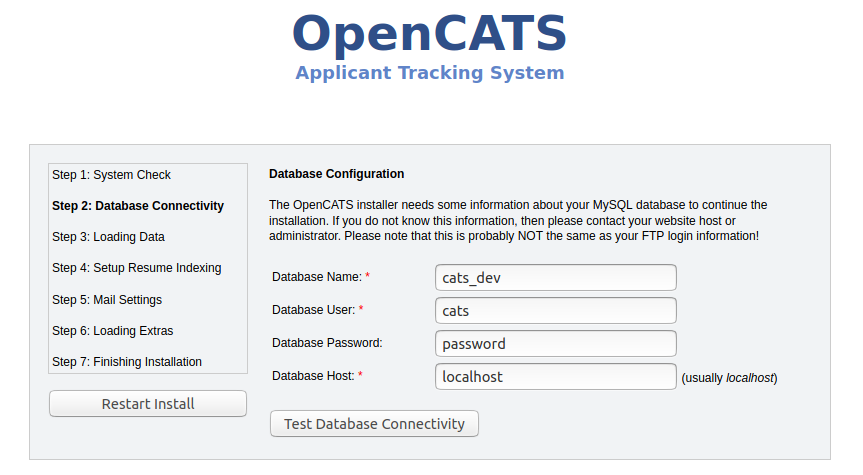
Step 2 Database connectivity
Enter the following information: Database Name: opencats Database User: opencats Database Password: opencats Database Host: localhost
Click Test Database Connectivity
If the SQL information is set up and entered correctly, you should have all green. If you see red, something needs to be corrected or set up correctly.
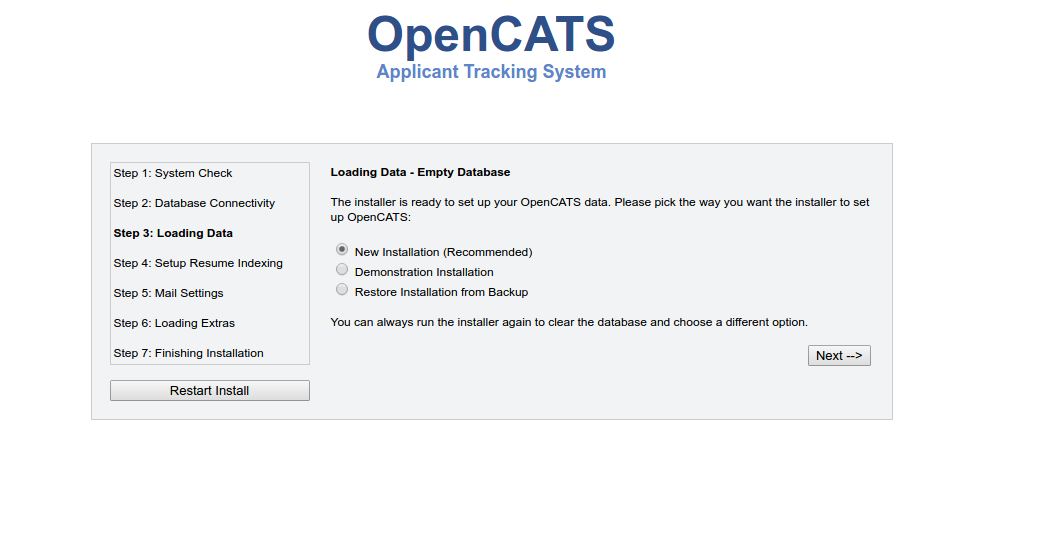
Step 3 Loading Data
For a new installation, select New Installation, then next
Note
Demonstration Installation will auto-populate OpenCATS with general example clients, candidates, job orders, etc. There’s no reason to use this in my opinion.
Note
Restore installation from backup will be covered in a future tutorial
Step 4 Setup resume indexing
Unfortunately, for now, there is no resume indexing.
- Click Skip this Step.
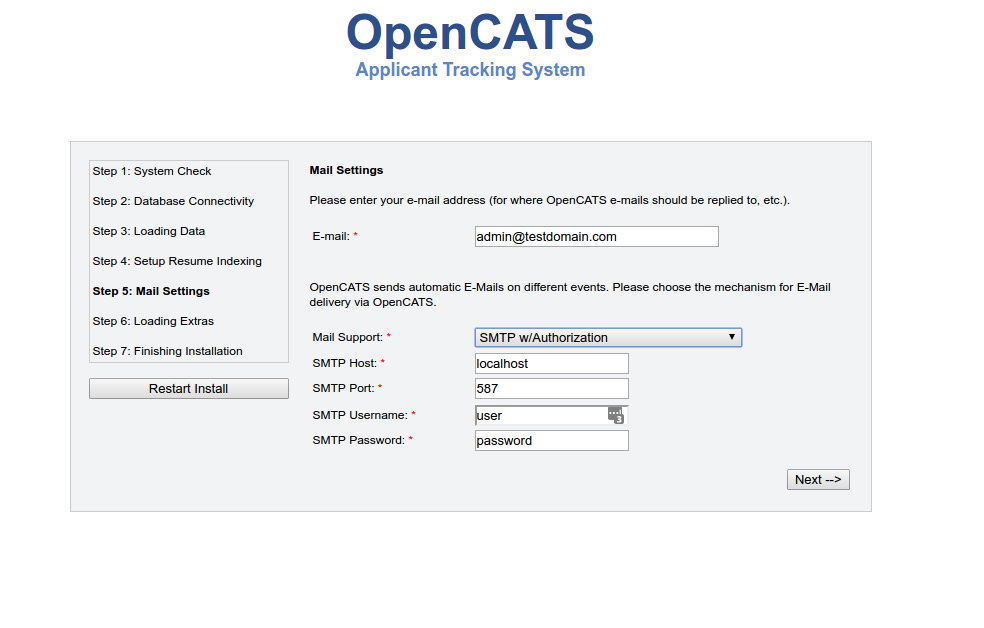
Step 5 Mail Settings
OpenCATS can send emails. If you don’t want to use it, you don’t have to. OpenCATS works great either way!
Choose an option from the Mail Support drop-down bar, fill the necessary information in (if you are using it) and click Next
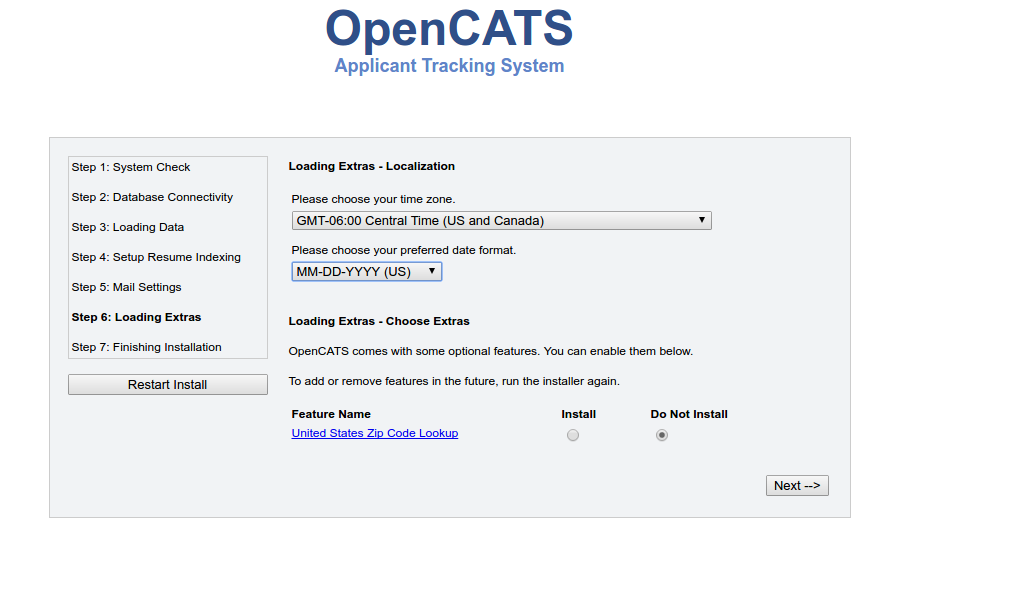
Step 6 Loading extras
Don’t forget to set the time zone to your area!
Warning
If you forget to set the time zone ALL of the timestamps on every note in OpenCATS will be wrong. Set the time zone correctly. You will thank us…
Choose the date format you like best
(United States only) choose to install (if you want) zip code lookup
Click next
Step 7 Finishing installation
Runs through the installation process. You should see a box and some pretty bars moving. It shouldn’t take long.
Note
The default username and password are: admin/admin or admin/cats (all lowercase) depending on your OpenCATS version
Click Start OpenCATS for your login screen.
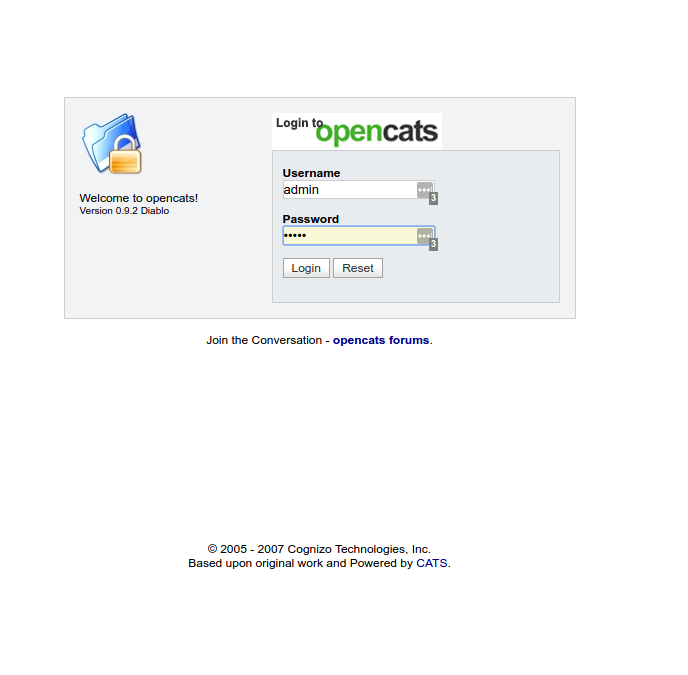
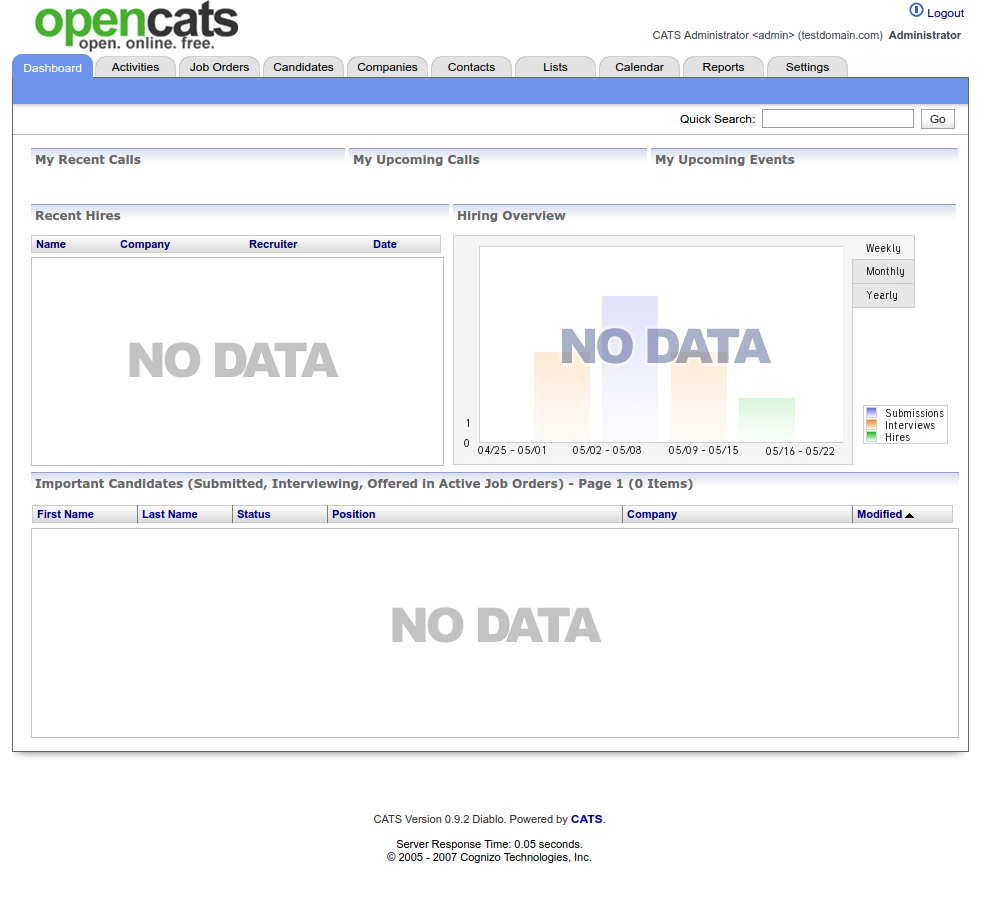
Success!!
Your brand new OpenCATS applicant System!